
When spring rolls around, it’s time to give your makeup bag a much-needed refresh. Whether you’re a beauty enthusiast or only wear makeup occasionally, taking the proper steps to clean out and declutter your makeup collection will help keep everything organized and looking its best.
Today, beauties, I’m sharing a few spring cleaning tips for giving your makeup bag an overhaul this season. By the end of this blog post, you’ll be ready to take on this task with stride and one step closer to achieving some beautifying spring cleaning success!
Disclosure: This post contains affiliate links, meaning I might receive a small commission (at no extra cost to you) if you make a purchase using one of these links. For more info, see Disclosure Policy. Additionally, as an Amazon Associate, I earn from qualifying purchases.
7 Top Spring Cleaning Makeup Tips
Makeup can certainly get out of hand with its small applicators and thousands of sponges, brushes, lipsticks, etc… Luckily, there’s a solution! Let’s begin!!
Gather Up All Your Products And Tools (Tip 1)
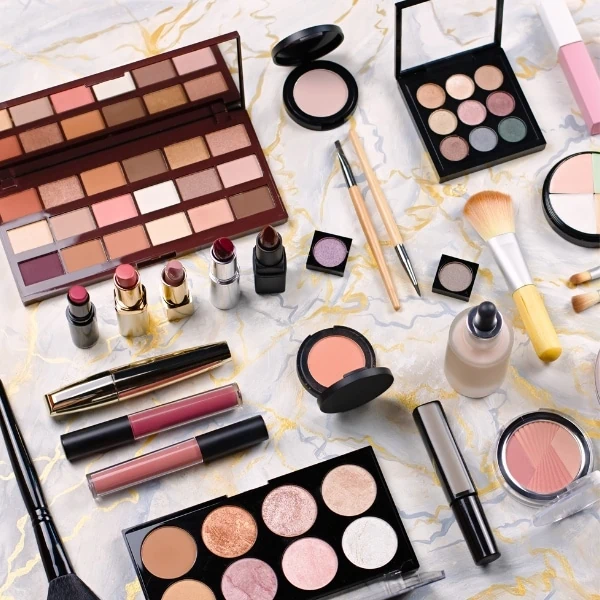
As a part of your annual spring cleaning routine, it is essential to take the time to assess and collect all of your makeup products and items. Start by taking everything out of your makeup bag.
Then check any other places you tend to leave your makeup, like purses, your suitcase, your vanity, bathroom drawers, or even your car.
This will help you get a good look at what you have, don’t need, or no longer use, as well as allow you to easily categorize items. Lay everything out on a large clean surface.
Throw Away Any Expired Products (Tip 2)
Once you’ve gathered all of your makeup products and tools, it is important to inspect any items that are close to their expiration date. Generally, makeup should be replaced every 6 months to 1.5 years, depending on the product and how often it’s used.
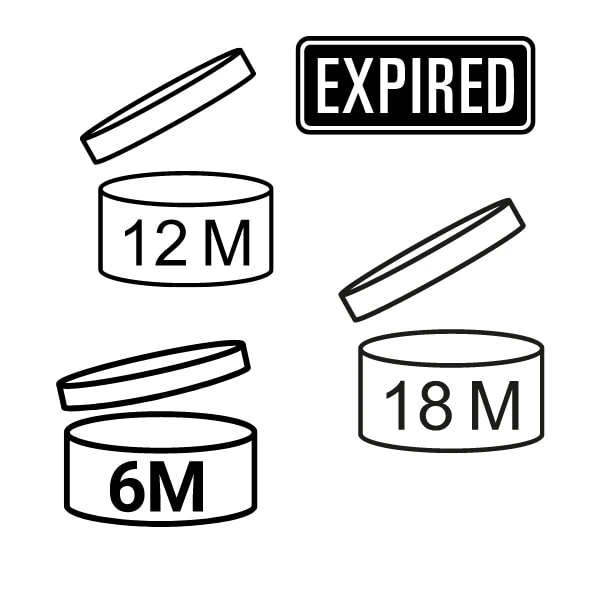
Of course, there are a few products that can last up to two years, like powder eyeshadow or blush. But they are more the exception, not the rule.
If you notice a strange smell or a change in color, or the product seems to be separating (like you see oil collecting on the bottle), it needs to be tossed. This is especially true for mascara and some eyeliner, as these can often become breeding grounds for bacteria that lead to eye infections.
Sort, Group, & Categorize (Tip 3)
Sorting items according to use and grouping them into categories is a great way to spring-clean your makeup stash. Start by pulling out and separating all your eye makeup products, like eyeshadows, eyeliner, brow products, and mascara. Then create piles for each.
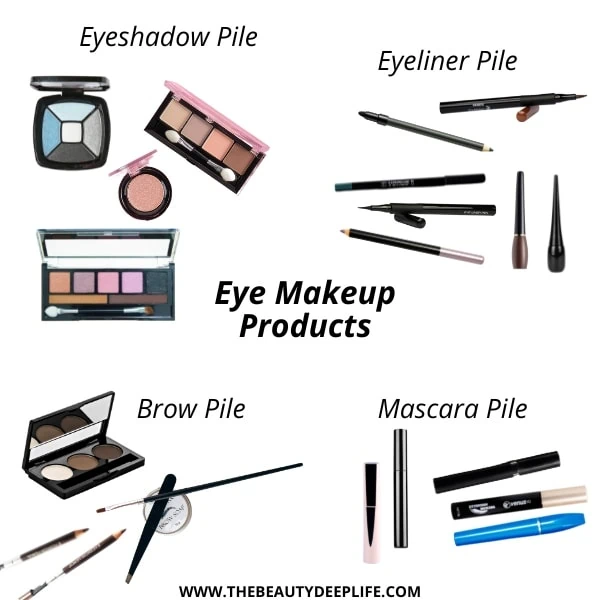
Next, move on to your lip products (glosses, lipsticks, liners). Create piles for each of these as well. Continue doing the same with blush, contouring products, base makeup products (concealer & foundation), and so on.
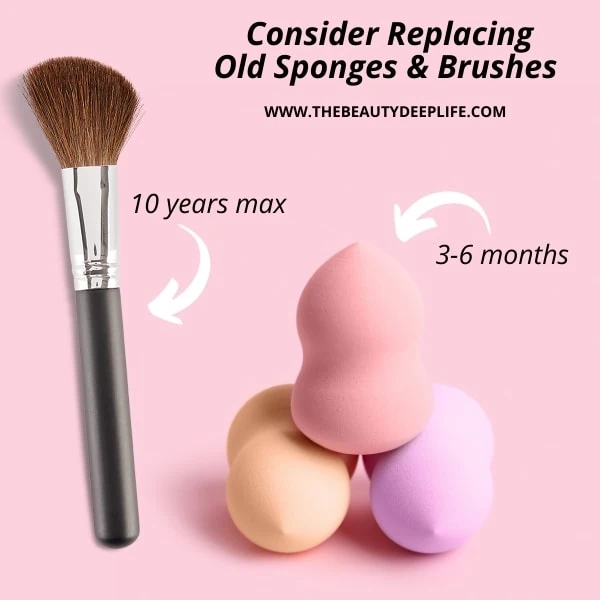
Consider Replacing Old Sponges & Brushes (Tip 4)
It is also time to consider replacing old makeup sponges, beauty blenders, or brushes if they have seen better days. If your makeup brush is constantly shedding, no longer applying the way it once did, or you notice loosening in the ferrule or handle region, it’s time to shop for a new one.
However, if you invest in quality brushes and clean them regularly, they can last as long as 10 years. Makeup sponges and beauty blenders need to be washed regularly and replaced every few months (3 to 6).
Related: How To Clean Makeup Brushes Correctly: A Makeup Artist Explains
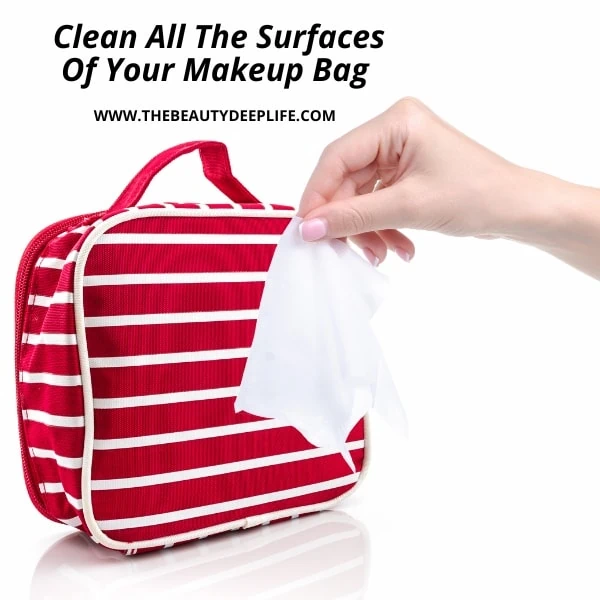
Clean All Of The Surfaces Of Your Makeup Bag (Tip 5)
When spring cleaning your makeup bag, it’s vital to not only go through and organize all of your items but also clean the bag itself.
Depending on the material, this can be done by wiping down the surfaces (inside and out) with a damp cloth, gentle soap, and water, or antibacterial wipes like these. Doing so will ensure that any bacteria, grime, or loose makeup powders won’t be transferred to your makeup products or brushes.
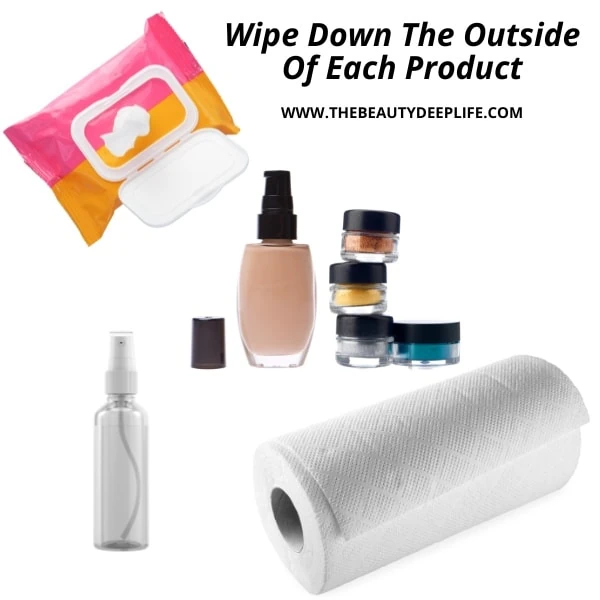
Wipe Down The Outside Of Each Product (Tip 6)
The next step is to wipe down the outside of each product container to remove dirt, oil, and any old makeup buildup that may have accumulated over the course of the year. You could use a little mild antibacterial soap or gentle cleanser and a soft, lint-free cloth, such as a microfiber one.
You might also try spritzing a little rubbing alcohol on it and wiping it with a paper towel or simply using a makeup wipe (these are my preferred methods). Make sure the product is closed completely before beginning.
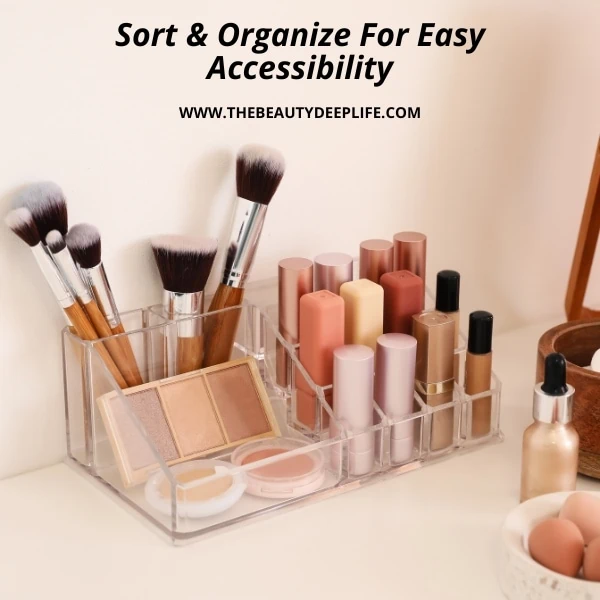
Store & Organize For Easy Accessibility (Tip 7)
If you’ve accumulated many products over the years, it’s probably time to move away from just your makeup bag and bathroom drawers for storage.
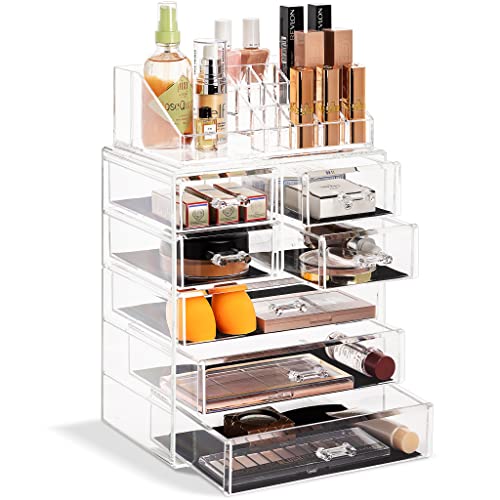
Consider investing in an acrylic makeup storage system that can be customized to fit all of your needs. This will help you keep everything organized and easily accessible. Since it’s clear, you’ll be able to find the precise product you need without having to search everywhere.
Let’s face it, when you’re in a rush in the morning, it can be daunting sorting through the clutter. Then just use your actual makeup bag for touchups when you’re on the go or for traveling!
Look for something with drawers or dividers that can help you keep each of your groups of items separated. Makeup organizers and storage containers are also the perfect way to ensure your space looks neat and tidy!

PRO Spring Cleaning Organizing & Storing TIPS:
- Keep all of your makeup products in a cool, dry place to minimize bacteria growth and improve their shelf-life.
- Always store your makeup brushes, so they’re covered when not in use. This way, they won’t collect dusty particles from the air, which, let’s be honest, no one wants on their face.
- If you own a variety of different lipstick colors and eyeshadow palettes, you can always organize them by their tones. Put all neutral palettes together, separated from colorful ones. Then sort all nude lip colors together, separate from reds or darker colors.
- STORi SimpleSort 10-Piece Stackable Clear Drawer Organizer Set
- STORi 4-Compartment Clear Plastic Organizer


Add New Items To Freshen Up Your Look
Adding a few new items to your makeup collection is a great way to freshen up your spring look and adapt your beauty routine to the changing season. Consider adding some of the season’s latest trends, such as a pop of pastel color on the eyes with an eyeshadow palette or softer hues for your lips!

Spring Cleaning Your Makeup: The Beauty Wrap-Up!
Spring cleaning your makeup bag (and stash) is important to ensure that everything stays organized, clutter-free, and safe from bacteria. Once it’s done, life becomes so much easier as you’ll spend less time each morning looking for specific makeup items.
Start by gathering all your products and tools, sorting them into categories, tossing expired items, wiping down surfaces, investing in storage containers if necessary, and adding new spring-themed items to freshen up your style. By following these seven spring cleaning makeup tips, you can create a beautiful space where you feel inspired to experiment with different looks!
Related Articles:
- Bloom With Beauty: 12 Striking Spring Makeup Looks To Try Now
- 21 Fresh Spring Nail Ideas To Brighten Up Your Look
- The Best Summer Makeup Looks & Products We’re Totally Obsessed With!
- Fall Makeup Ideas: Best Looks & Products To Amp Up Your Style!
We are a participant in the Amazon Services LLC Associates Program, an affiliate advertising program designed to provide a means for us to earn fees by linking to Amazon.com and affiliated sites. For more info, see Disclosure Policy.