
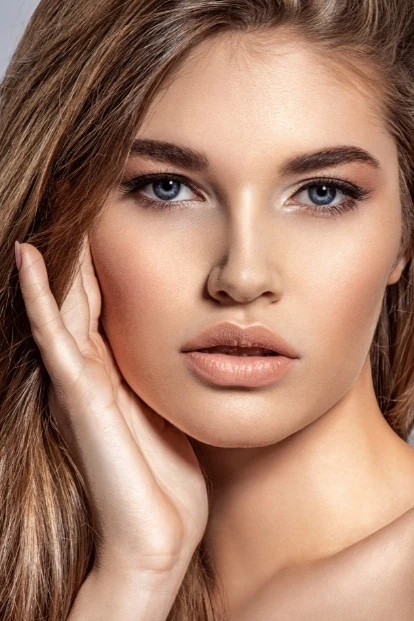
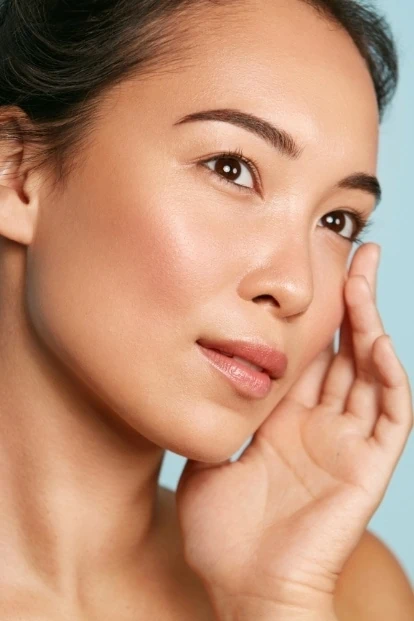
While there are many variations to this makeup style, a natural makeup look is all about enhancing your natural features and looking like yourself, only BETTER.
Most of us have seen those gorgeous, seemingly no-makeup and minimal looks on Instagram and Pinterest, but knowing where to start can be tough, especially if you’re new to makeup.
Of course, the goal is to apply your products in a way that’s softer, more subtle, and ultimately doesn’t appear like you’re wearing a full-beat face of makeup. So how do you achieve this beautifully polished and put-together yet effortless look?
Well, Beauties, today I’m giving you all the tips and tricks you need to master this particular makeup look. Plus, I’ll be recommending some of the best products to help you get the job done in no time.
So set aside your glam contouring kit (you won’t be needing it) and keep reading for the lowdown on achieving that au naturel style!
This post may contain affiliate links. If you happen to make a purchase through one of those links, I may receive a commission at no extra cost to you. Please see my Disclosure Policy for more info. Also, as an Amazon Associate, I earn from qualifying purchases.

What Is A Natural Makeup Look, And Why Should You Wear It?
There’s a reason why natural makeup looks are so popular – they look great on everyone! This type of look doesn’t require elaborate makeup skills or dealing with a lot of color combinations (since you can stick to mostly nudes). Not to mention, it’s an excellent choice for every day (no matter the season)!
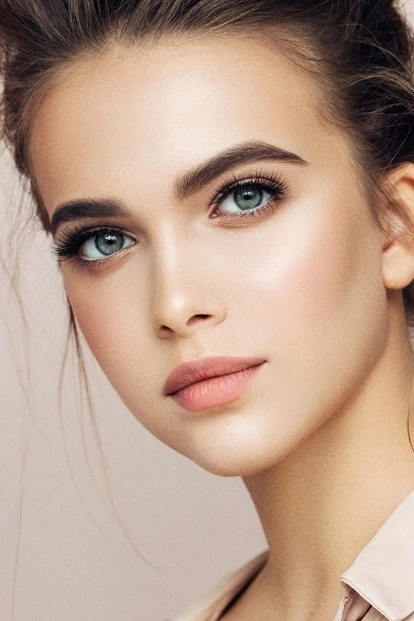
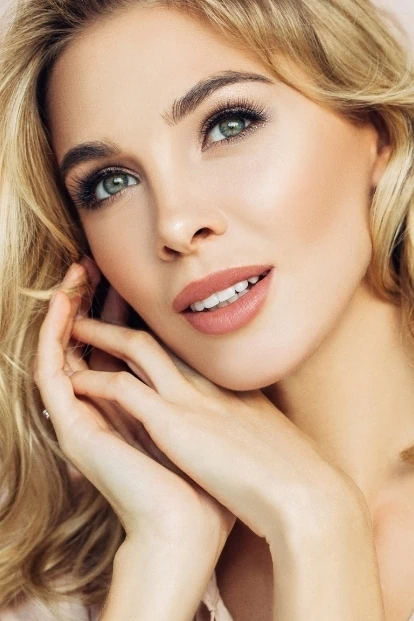
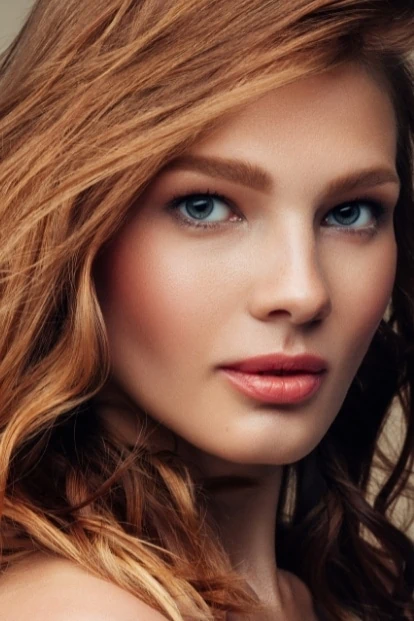
Of course, one of the biggest benefits of natural makeup is that it allows you to play up your features with a less is more kind of approach, so you never look overdone. For example, if you have beautiful eyes, a natural makeup look will help accentuate them with a just touch of depth and dimension using neutral shades.
Another great thing about natural makeup is that it’s very versatile. There are several different variations to this look that you’ll see out there… so depending on your mood or the occasion, you can go for a soft & polished natural look (excellent for cooler months), something more matte, something glowy, or a no-makeup summery kind of style.
Perhaps you don’t like the feel or look of heavy makeup, or maybe you’re just not in the mood for something dramatic; whatever your reason may be, a natural makeup look allows you a fuss-free way to look effortlessly beautiful!
What Products Do You Need For A Natural Makeup Look?
With a natural makeup look, all you really need are a few basics, many of which you likely already have in your makeup bag or kit.
Also, you should keep in mind that it’s completely customizable, meaning you can pick and choose your products for this makeup routine. *You’ll see that some of the ones in our step-by-step tutorial are listed as optional.
As a general guideline, you’ll want the following makeup items…
- Foundation, Tinted Moisturizer, Or BB/CC Cream
- Concealer (optional, if needed)
- Primer (optional)
- Loose Translucent Setting Powder
- Blush
- Bronzer (optional)
- Highlighter (optional)
- Neutral Eyeshadows Or Palette (optional)
- Eyeliner (optional – pencil, powder, cream, or gel but NOT liquid liner)
- Mascara
- Brow Powder, Pencil, Or Clear Brow Gel
- Tinted Lip Balm, Gloss, Or Nude Lipstick
Natural Makeup Tutorial (Step-By-Step) + Product Recommendations
Beauties, I want to point out that the order in which you apply your products can change depending on the formula you choose for your blush, bronzer, & highlighter.
For this tutorial, first, I will cover powder formulas. Then second, I’ll give you a quick rundown of the correct application order, should you decide to go with creams & liquids.
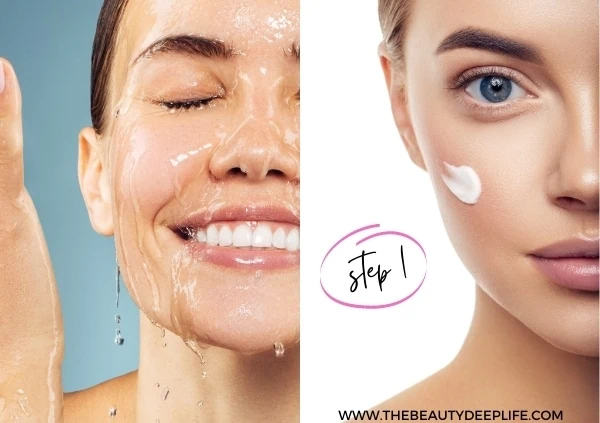
STEP 1: Skincare & Prep
Before starting your natural makeup look, it’s important to prep your skin first. A clean canvas is always the absolute best way to begin any makeup routine. But it’s especially vital for natural makeup since you want your skin to look as fresh and (you guessed it) “as natural as possible.” 😉
Start by washing your face with a cleanser made for your skin type, then apply a moisturizer suitable for your skin type. If you can, try to use a daily moisturizer that has SPF (particularly in the warmer months), or at the very least, make sure your base makeup products have it.
After your skin is cleansed, moisturized, and protected, it’s time to apply a primer (this is optional). A primer will help with creating a smooth base for your foundation or tinted moisturizer and help your makeup last longer.
If your skin happens to be dry, you might want to try a hydrating primer. However, if it’s oily, you may want to consider using a mattifying primer.
Related: The Best Guide to Women’s Essential Skincare Tips
STEP 2: Apply Your Base
The next big step is to apply your base. Now, for a natural makeup look, you want to use either a lightweight foundation, a tinted moisturizer, or a BB/CC cream. Our aim here is “your skin but better” – essentially a more even skin tone.
- Start by dotting your product onto your face using a beauty blender or makeup brush. Work from the center of your face and move outward as you blend it into your skin.
- Remember that less is more, so don’t go overboard with your base. You want your skin to look like skin, not like you’re wearing a mask.
- If you find you need more coverage in certain areas, you can always go back and add a little more product. But it’s always easier to build up the coverage than to tone it down.
Natural Makeup Base Recommendations
I love this tinted moisturizer from Nars since it gives me SPF 30 protection! It looks very natural and effortless (everything you’re going for when doing a natural makeup look). Though it’s on the sheer side, it’s buildable, so I can go with a lighter touch or heavier, depending on the level of coverage I need for my skin each day.

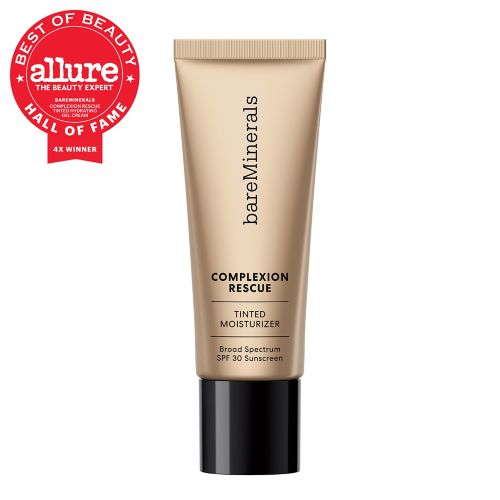
Another top pick for a tinted moisturizer is this one from bareMinerals (also with SPF-30) and this one from Laura Mercier if you prefer a matte finish.

Top CC Creams: IT CosmeticsCC+ Cream with SPF 50+ / IT Cosmetics CC+ Nude Glow


Top BB Cream: jane iredale Glow Time Pro BB Cream
Related: For tips on application & finding the right foundation shade, check out this post on 11 Tips For Complexion Perfection.
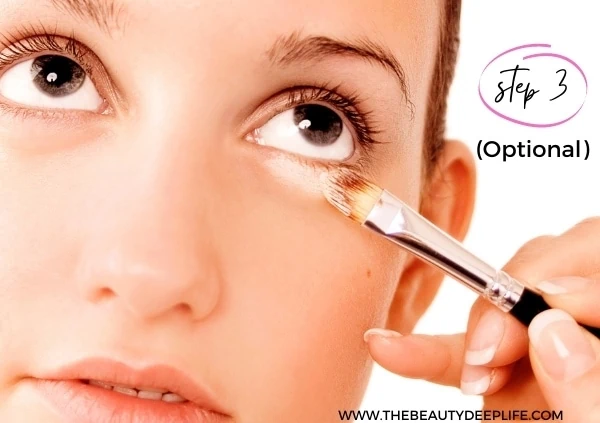
STEP 3: Apply Concealer (If Needed)
Now is the time (if you need it) to cover any dark circles or blemishes. Again, less is more when it comes to natural makeup, so go for a minimal approach with your concealer.
You want to cover up imperfections but keep your skin looking fresh, smooth, and like real skin, not cakey.
- For dark circles, if you want to keep your makeup at the bare minimum, you can just spot-treat the areas of darkness.
- Or, if you’d like to really brighten things up, another option would be to use the upside-down triangle technique. Check out my article on hiding dark circles for more on that technique.
- After applying your concealer, you may then use a beauty blender, makeup brush like this one, or even your ring finger to blend it into your skin.
The 411 On Concealer:
Keep in mind that depending on the severity of your skin concerns and if you choose a concealer with a strong neutralizing undertone, you may need to apply your concealer before Step 2.
Additionally, the concealer you use for dark circles will likely be different than the one you use for dark marks or blemishes. You see, some concealer formulas are better at covering specific skin concerns than others.
For example, suppose you find a pen concealer that helps with the darkness under your eyes and love how it doesn’t settle into your fine lines. However, if you try to use that same concealer for an age spot, old acne scar, or another type of hyperpigmentation issue, you’ll notice that it does not give you enough coverage to hide that discoloration.
This is why picking the right concealer for your skin concerns and skin type is so essential. I teach all about this, along with other makeup tips & tricks for achieving a flawless face, in The Ultimate Makeup Bundle. Check it out if you’d like to learn more.
Related: 10 Best Concealers For Dark Under-Eye Circles
STEP 4: Set Your Base
Now you want to set your base with a loose translucent setting powder. You can apply it just by focusing on your T-zone (forehead, nose, and chin) with a large powder brush. However, if you have oily skin, you’ll want to apply it to your full face.
You want this to be a translucent lightweight powder because that is the best type of face powder for keeping things looking as natural as possible; otherwise, you risk having too many layers, resulting in your makeup looking cakey.
Natural Makeup Setting Powder Recommendations
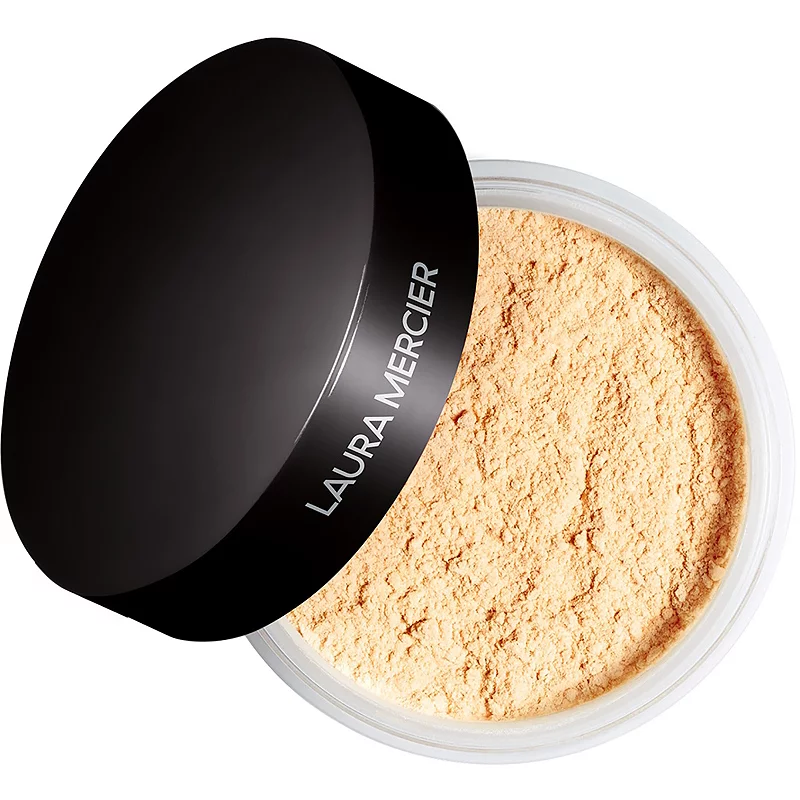
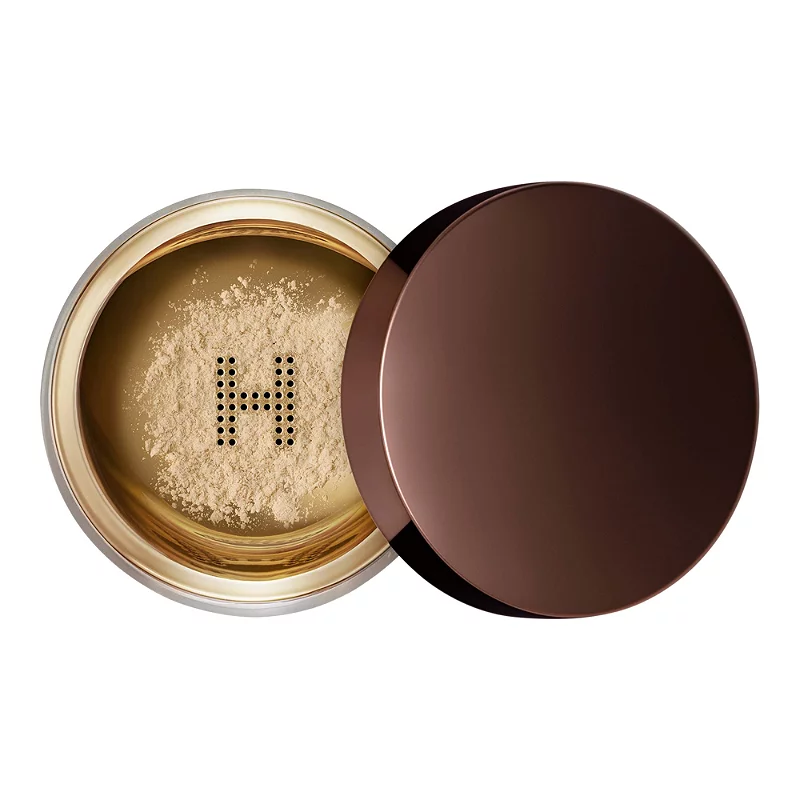
Two of my favorites that work on every skin tone are Laura Mercier Translucent Loose Setting Powder (available in three ranges with a matte finish) and Hourglass Veil Translucent Setting Powder (natural finish).
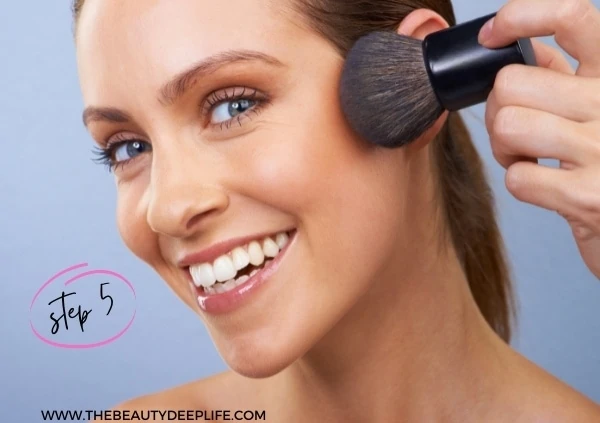
STEP 5: Add A Flush Of Color & Bronzer
Your next step is to add some color to your face with powder blush and bronzer. The key is to use a lighter touch with both, so your makeup remains natural-looking and doesn’t turn into full glam. You don’t need much, just enough to subtlely enhance things.
While bronzer is optional, it will add a lovely warmth to your complexion, so you might want to seriously consider it. And a blush is a definite necessity, as it will keep your natural makeup look from becoming too washed out. Not to mention, it’ll instantly brighten up tired-looking skin, add more dimension to your face, and provide the healthiest accent of color!
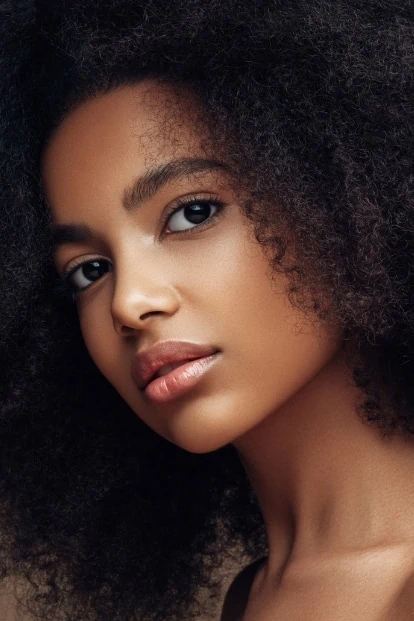
I learned many years ago that the darker your complexion, the better it is to apply your blush and then blend a bronzer a bit over it. Since bronzer can sometimes not be as apparent on ethnic skin, this ensures its visibility. It will also create a sort of sun-kissed look once blended with the shade on your cheeks.
However, for those of you with non-ethnic skin tones, you’ll want to apply your bronzer and then follow it with your blush.
Bronzer Tips:
To add a bit of warmth, apply your bronzer where the sun naturally hits your face – forehead, along your hairline, the bridge of your nose, your cheeks (along your cheekbones), and just a hint on your chin.
Keep in mind you’re not contouring, so you won’t use it under your cheekbones. And, of course, you don’t have to use it in all of these areas.
PRO Tip: Another option is you could simply focus on the outer edges of your face if you’d like.
Natural Makeup Bronzer Recommendations
Many of these come in various shades for several different skin tones. However, if you see a brand listed under a specific skin tone, that means I think that brand has a really flattering collection of shades for that skin tone.
- All Skin Tones: Fenty Sun STALK’R Instant Warmth Bronzer (9 Options)
- Fair, Light, & Medium: BENEFIT COSMETICS Hoola Matte Bronzer
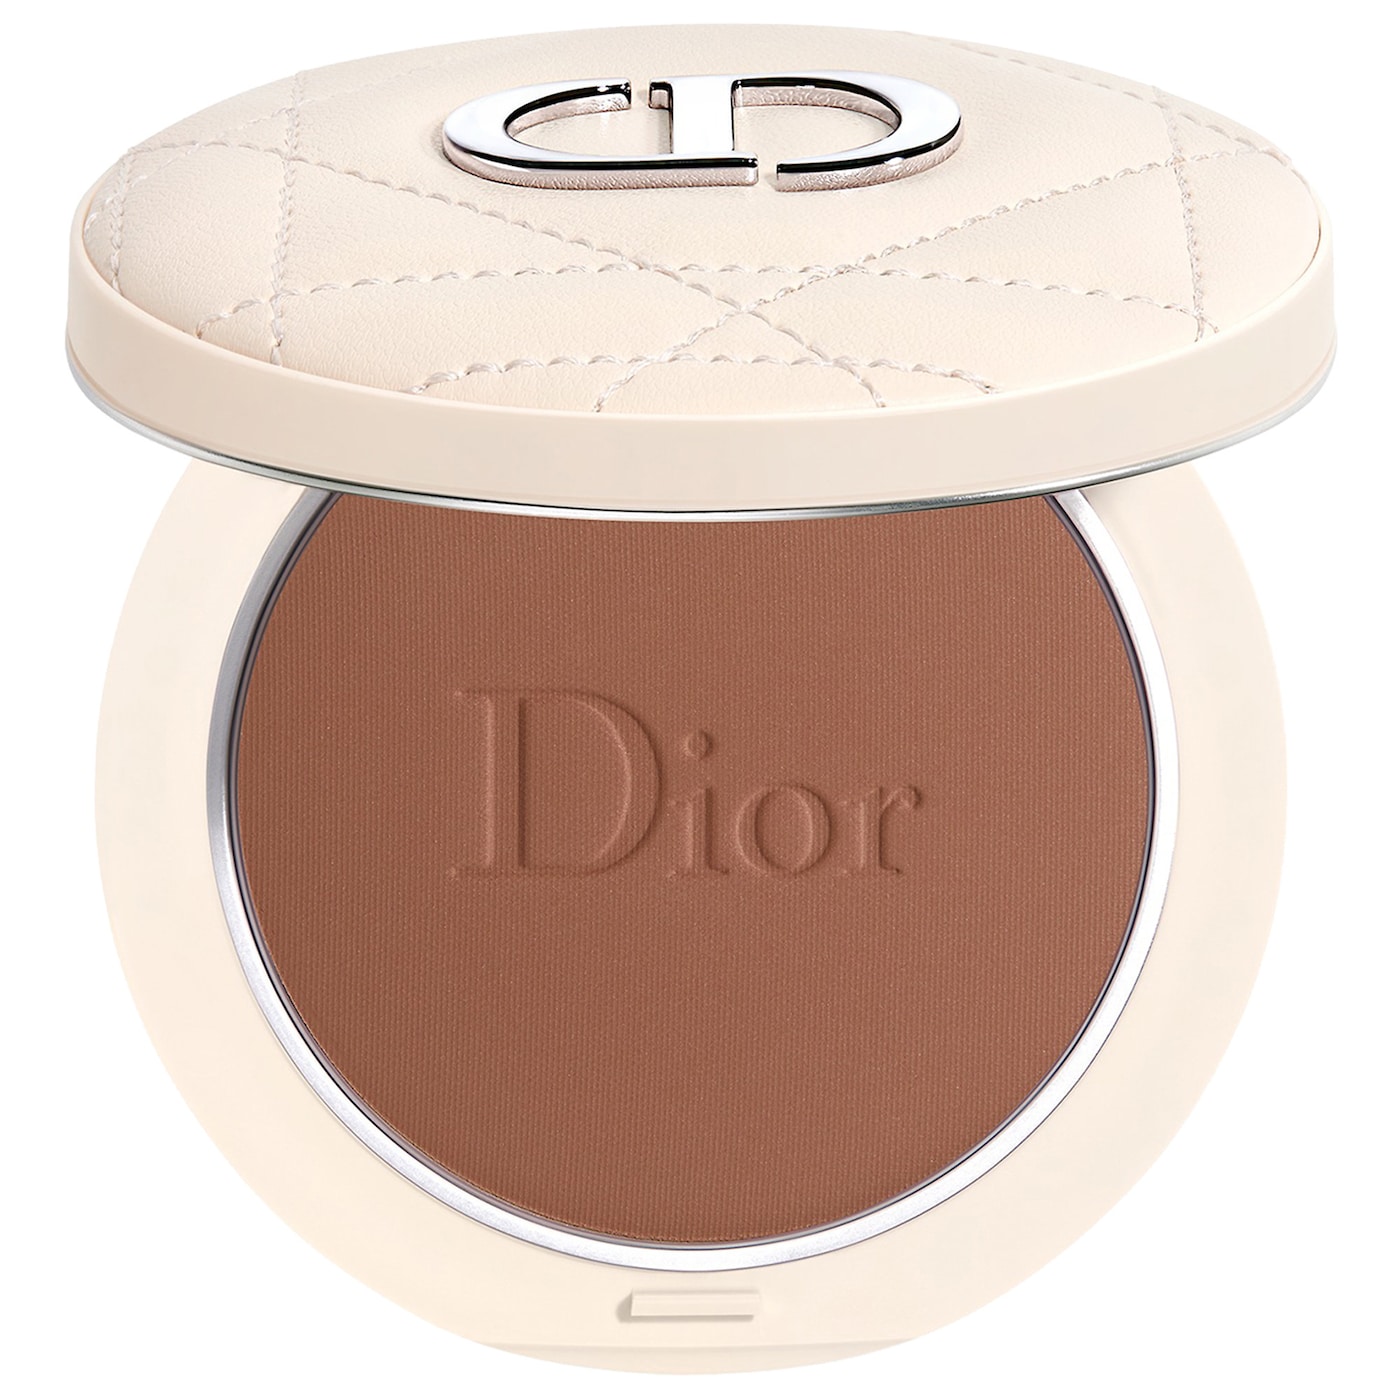
- Medium To Tan, & Dark: Dior Forever Natural Bronze


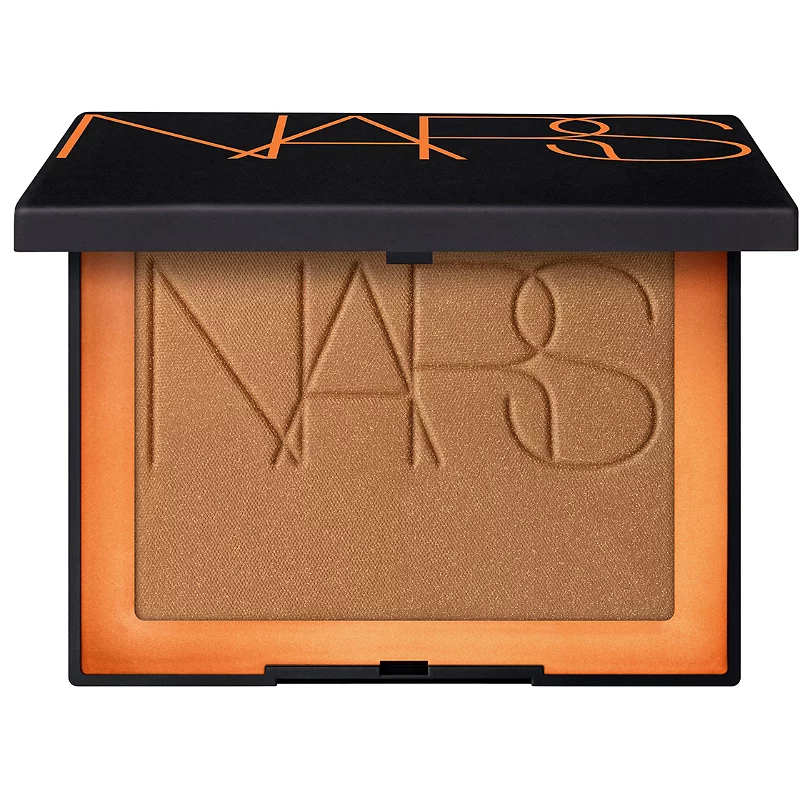
- Light, Medium, & Dark: Nars Bronzing Powder
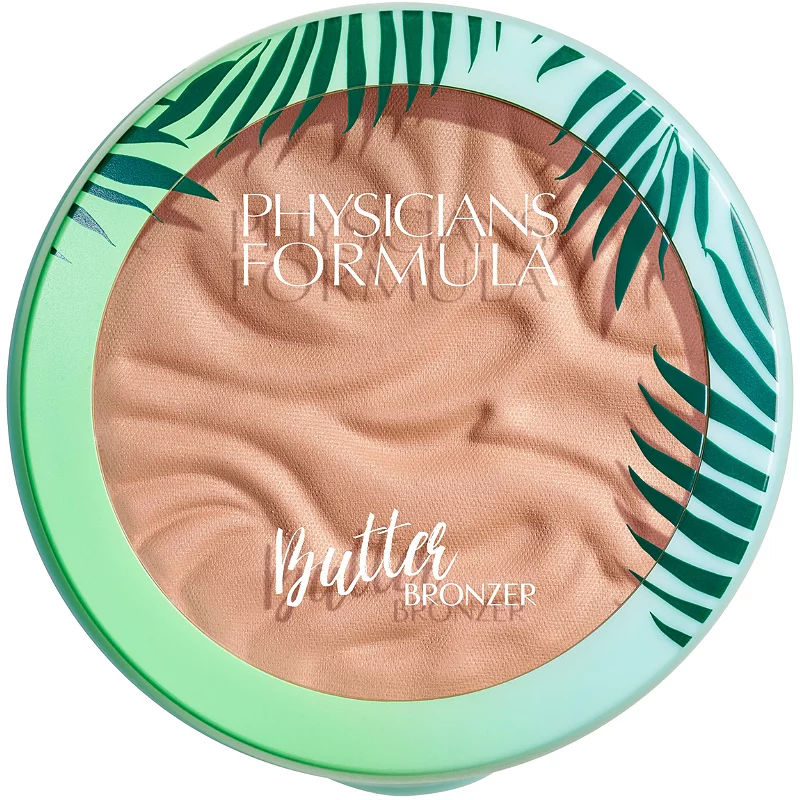
- Fair & Light: Physician Formula Butter Bronzer
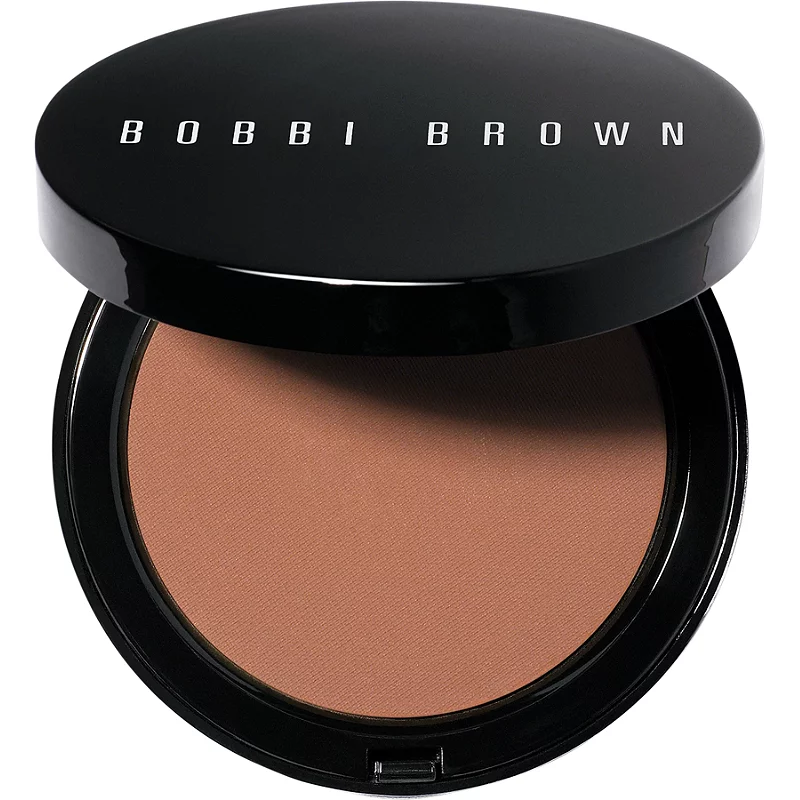
- Medium, Olive & Dark: Bobbi Brown Bronzing Powder
Blush Tips:
The most natural-looking blush formula would be a cream. But since creams don’t work with as many skin types as powders do, I’m focusing on powders here.
*If you prefer a cream blush, keep scrolling for tips on the correct order of application using that formula & product recommendations further down.
To determine your best blush color for a natural makeup look, you’ll need to find something that mimics the color your cheeks turn when they’re flushed. Think about the way they look after a rigorous workout or after being out in the frigid snow.
Of course, the darker one’s skin tone, the harder this will be to determine. So if you have a darker tone or can’t recall how they look after exercise or a cold day, another trick you can try (courtesy of Bustle) is to pull your lip down and look at the natural color on the inside of your bottom lip.
Find a blush that matches that color. Depending on your skin tone, you could try a peachy shade, peachy pink, pink, dusty rose, muted coral, plum, red-brown, or deep berry for a natural look. Using a powder blush, start by applying it to the apples of your cheeks (the outer portion of the apples) and sweep it outwards and upwards along your cheekbones towards your hairline.
PRO Tip: Deep darker skin tones also look beautiful in brighter, bolder shades from orange-toned to reddish hues or highly pigmented blue-based pinks.
Natural Makeup Blush Recommendations
For a collection of Peachy Pink, Peachy Coral, & Peach Blushes, check out this article.
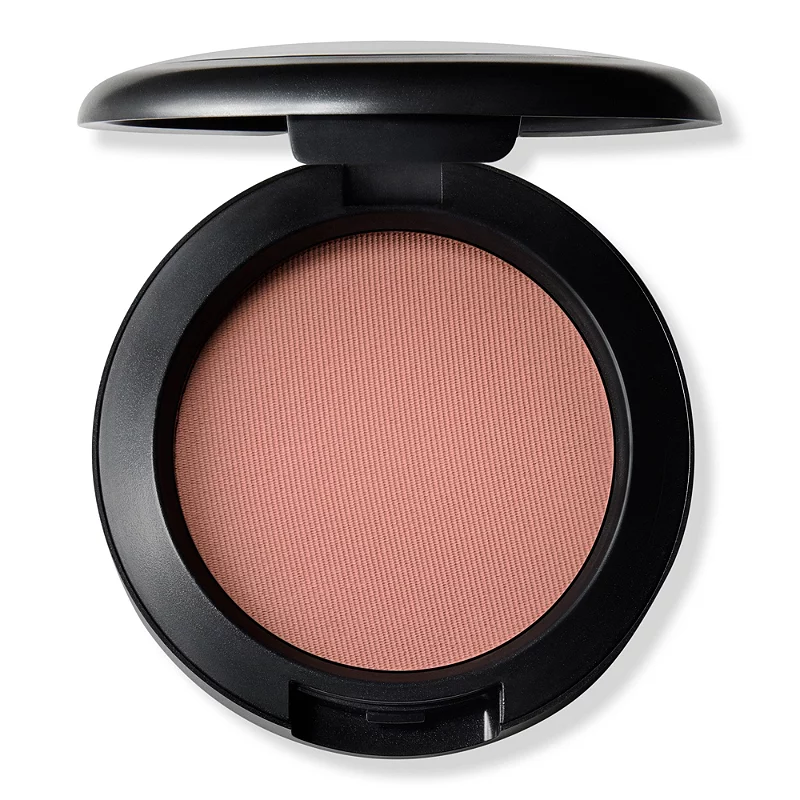
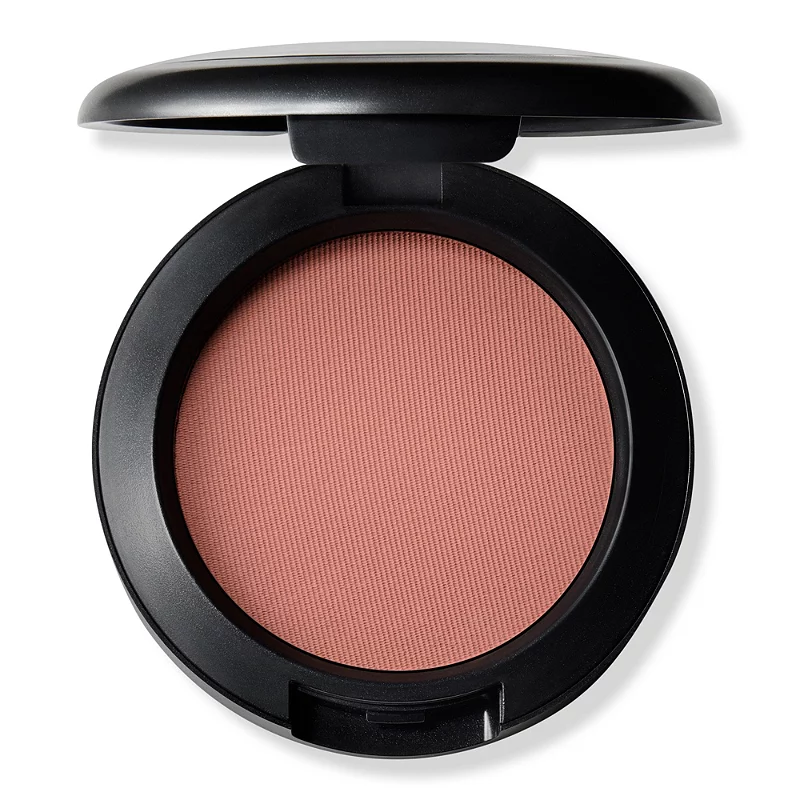
- Medium, Tan, Olive, & Some Light Skin Tones: MAC Powder Blush in Gingerly
- Tan & Olive Skin: MAC Blush in Desert Rose
- Light, Olive, & Medium Skin: MAC Powder Blush in Melba
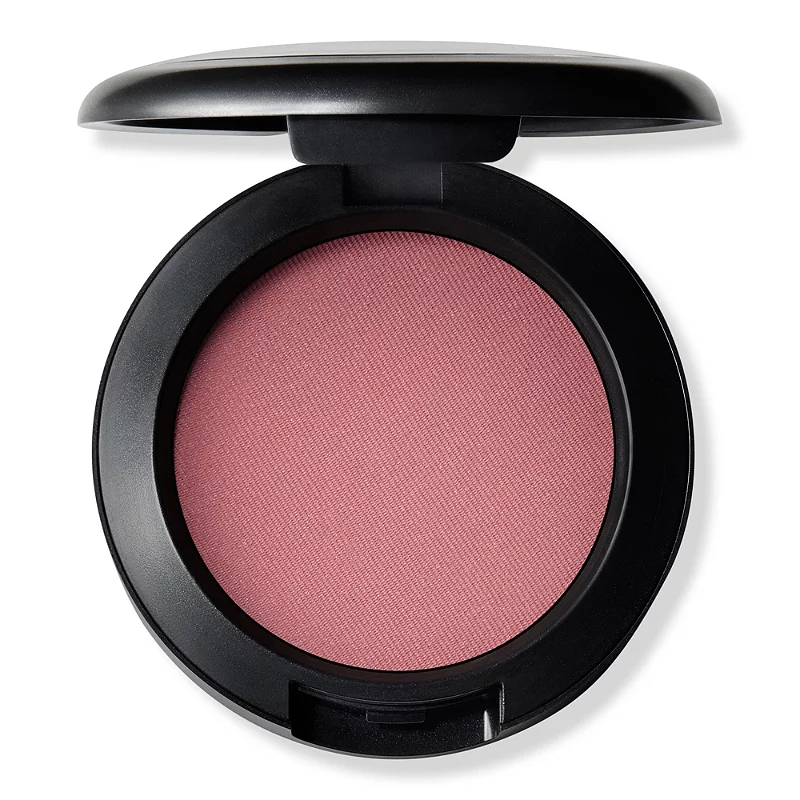
- Olive & Tan Skin: PAT McGRATH Powder Blush in Divine Rose (Cool Mauve Rose)
- Dark, Deep, Olive, & Tan Skin: PAT McGRATH Powder Blush in Paradise Venus (Terracotta)
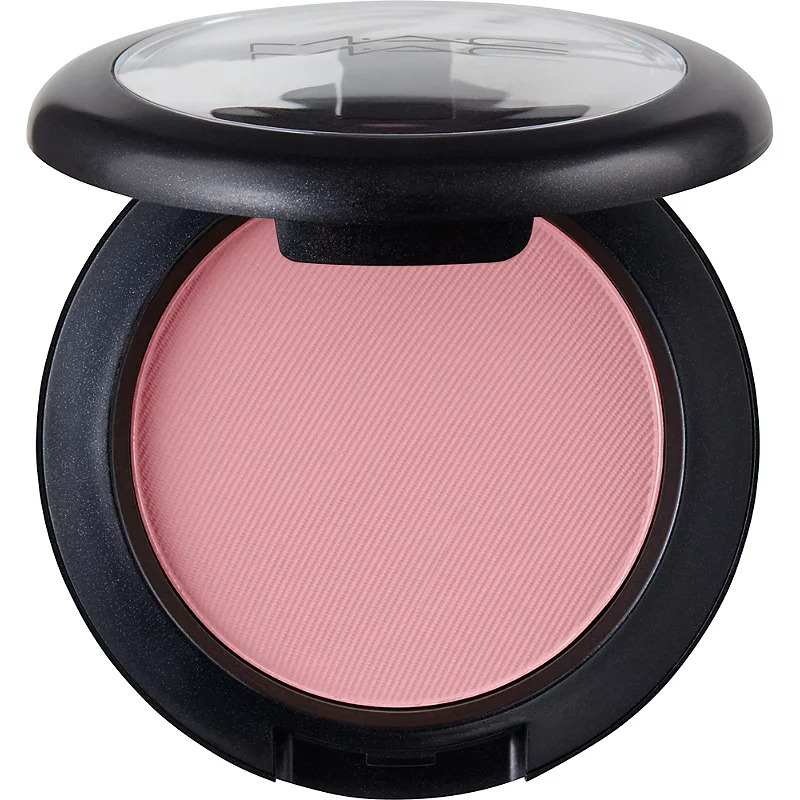
- Light & Fair Skin: PAT McGRATH Skin Fetish Divine Powder Blush in Fleurtatious (Beige Pink)


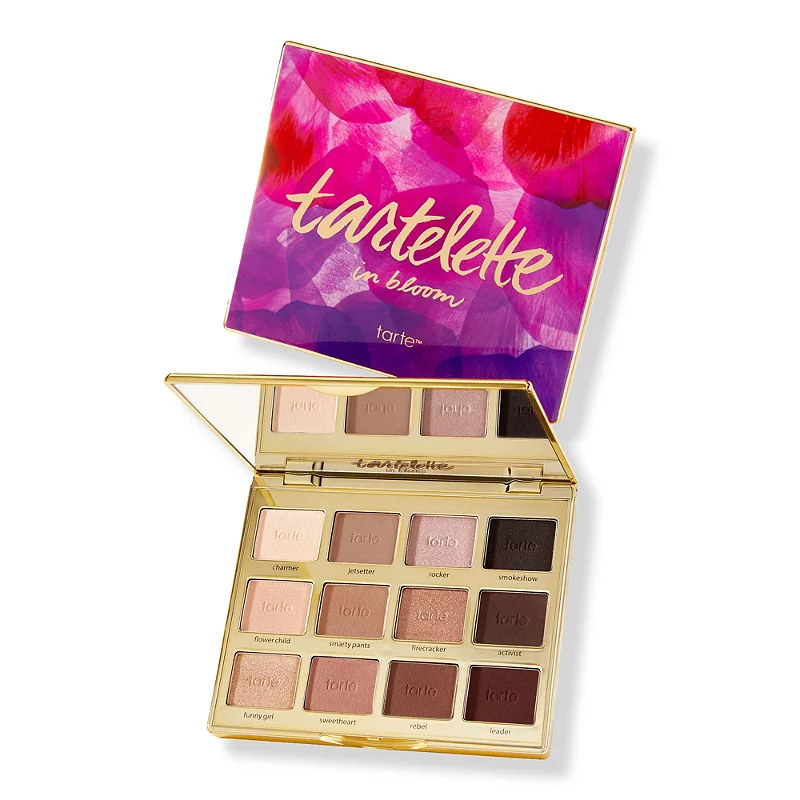
- Options For Every Skin Tone: tarte Amazonian Clay 12-Hour Blush (Pink, Peach, Rose, and Nude Variations Of Each)
- Fair & Light Skin: MAC Powder Blush in Fleur Power

STEP 6: Add In Highlighter (Optional)
If you want to add a subtle glow, apply some highlighter to a few high points on your face. The most important place to use it is on the tops of your cheekbones. But you can also apply down the bridge of your nose and/or add a touch above your cupid’s bow.
Make sure you apply it lightly; too much shimmer can create a “less than natural” vibe, as in disco ball, haha. 😉 Also, go for a highlighter that’s one to two shades lighter than your skin.
Natural Makeup Highlighter Recommendations
- BOBBI BROWN Highlighting Powder (8 Shades from pink to copper, champagne bronze, gold, & pearlescent white w/ peach)
- Fenty Killawatt Freestyle Highlighter (9 Shades from pink to copper, bronze, gold, & pearl)

- STILA Heaven’s Hue Highlighter (3 Shades on Amazon nude pink, opalescent pink, & bronze)
STEP 7: Define Your Eyes
For a natural makeup look, to define your eyes you have several options… let’s start with eyeshadow (optional).
If you decide to use eyeshadow, you can add a touch using neutral colors. And much like contouring is used to give the face depth & dimension, you’ll use these neutrals to enhance the natural shape of your eye.
PRO Tip: If you want to keep things super simple, instead of eyeshadow, you can use your bronzer. Sweep it over your lid and apply it in your crease (just enough for a little definition).
Eyeshadow (Optional)
Generally, eyeshadows with a matte or satin finish will keep things looking the most natural. But you shouldn’t feel restricted; if a shimmer is calling your name, go for it! Just avoid very glittery or frosty shades.
I recommended using an eyeshadow palette with an assortment of light, medium, and darker neutral shades, so you have more options.
- Apply an eyeshadow shade that’s close to your skin tone all over your lid as a base. Just to give an example, for someone with fair or light skin tone, this might be an ivory, bone, or beige-like color.
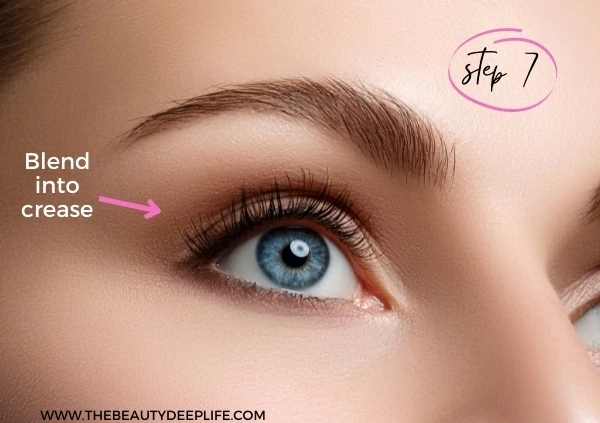
- You’ll want to use an eyeshadow that is about 1 to 2 shades darker than your skin tone & apply it to your crease. Blend using a windshield wiper-like motion. This will create more depth in the eye area.
- Optional, you can then take what’s left on your blending brush and sweep a just touch along your lower lash line (see image below).
- Now, you could stop with just those two shades or add in another eyeshadow. For a more alert “didn’t just roll out of bed” look and to brighten up your eyes, you could try using a subtle light shimmery shade at your inner corners and/or at the center of your lid.
Another Option…
- Use a light shade from your palette (one that’s close to your skin tone) as your base.
- Apply a medium-toned shade to your mobile lid (the part of your eyelid that is right below your crease).
- Then, use one of the darker shades in the palette for your crease.
Related: For another natural, everyday eyeshadow style, check out Look #1 from Eye Makeup For Beginners: Step-By-Step Looks You Can Easily Pull Off!!
Natural Makeup Neutral Eyeshadow Palette Recommendations
- Urban Decay Cosmetics Naked3 Palette
- Naked Reloaded Palette
- Urban Decay Cosmetics Naked2 Basics Palette (Best For Fair, Light, Or Light-Medium Skin Tones With A Cool Undertone)
- NYX Professional Makeup Ultimate Shadow Palette Warm Neutrals
- NYX Professional Makeup Ultimate Shadow Palette Ultimate Queen (Best For Darker Skin Tones)

Eyeliner (Optional)
Ok, gals, you can add eyeliner or skip it altogether. But if you decide to forgo liner, the most important thing is that you don’t forget that mascara! 🙂
For a natural eye look, you want to stay away from a crisp, super-defined line. Instead, the objective is soft and blended.
This means skipping liquid liner. You want to use just enough eyeliner to give the shape of your eyes definition and make your eyelashes appear denser at their base. So gals, your options are pencil, powder, cream, or gel!
As far as colors are concerned, you want a shade that closely matches the color of your lashes. You could go with brown, blackish-brown, or black.
*If you have light-colored lashes, go with brown or a dark taupe (dark brownish gray).
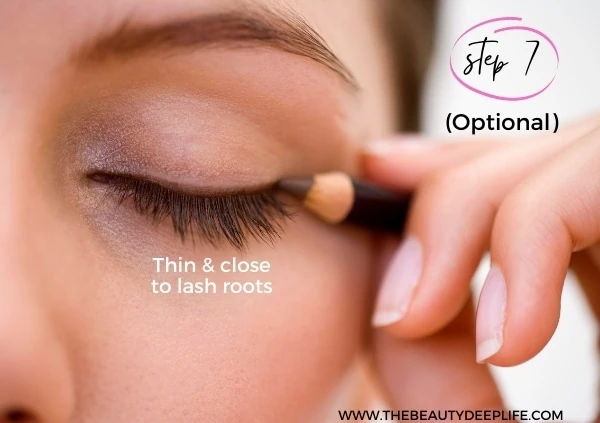
Pencil:
Take your brown or black eyeliner pencil and apply a thin line at your upper lash line, going in as close as possible to the roots of your lashes. To keep things as natural as possible, don’t go beyond your outer lash line & lid. Then, gently blend it out a bit with a delicate hand, using a smudger brush like this one (216) from Makeup Forever.
Cream Or Gel:
If you’re using gel or cream liner in a pot, make sure the brush has a thin, precise tip to keep this line from getting too thick and so you can go in tight at the lash roots. Remember, you’re applying just enough to give the illusion of denser lashes and define the eyes. Additionally, if trying to decide between the two, a cream will look softer, more natural, and blend easier. If you use a gel, you will need to blend quickly, as gels can dry a bit faster.
Powder:
A third option would be to take a liner brush and wet it. Then dip it into a brown or black eyeshadow (enough to saturate the bristles with the brown or black pigment) and apply it to your lash line. Afterward, take another brush (one that’s dry & clean) and buff this line out a bit until it becomes less obvious.
PRO Liner Trick: Want to use liner on your lower lash line? Here’s a trick I learned years ago at makeup school for creating a drop shadow… Take a brown liner (or eyeshadow) and go in right at the base of the lashes, focusing on just the outer 1/3 or 2/3 of your lower lash line.
Apply directly below the lashes and then blend it out so it almost looks like a slight shadow there. Start at the outer corner, where the lash hairs begin, and go inward. You want it to become thinner as you move inward.
It should also be subtly connected with the top line at the outer corner, but not if you are considered a mature woman (over 40). *This can make the eyes look small and close the area off too much on mature eyes.
Natural Makeup Eyeliner Recommendations
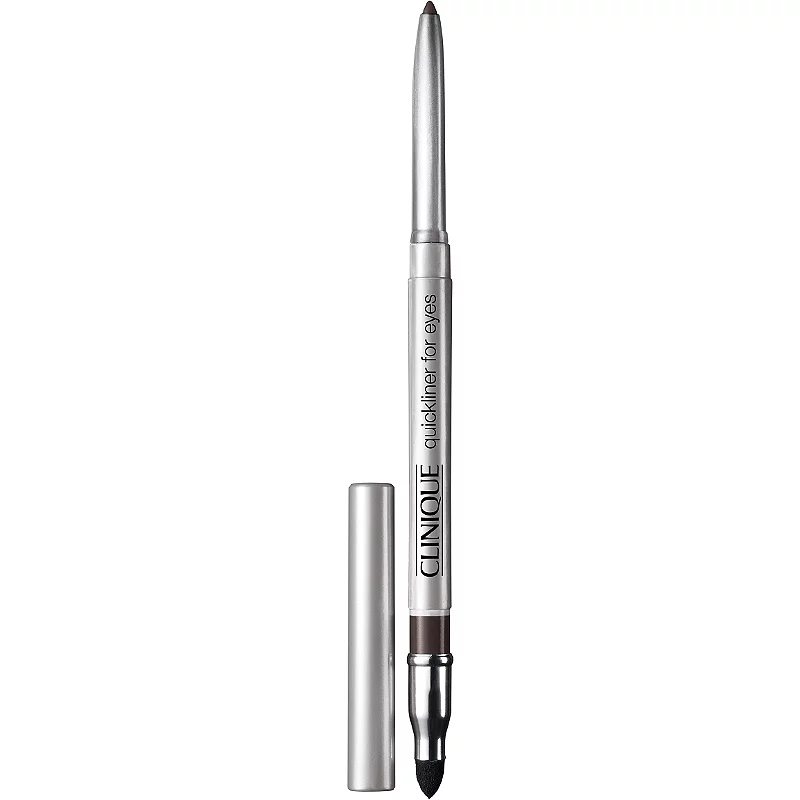
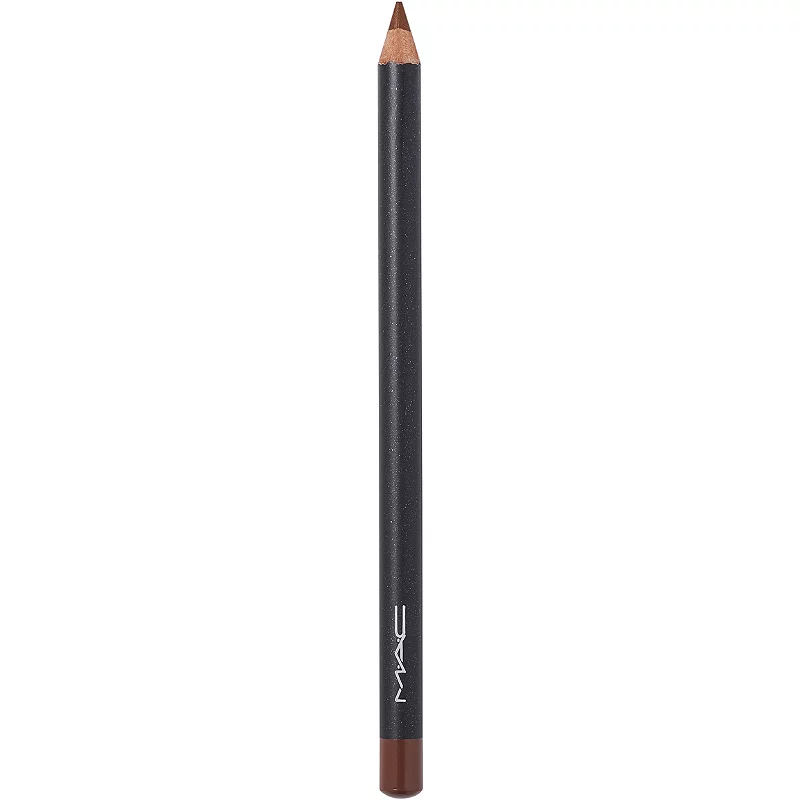
- stila Smudge Stick Waterproof Eye Liner
- Clinique Quickliner For Eyes Eyeliner (shown below)
- MAC Eye Kohl Eyeliner (shown below)
Mascara
Even if you forgo eyeshadow and/or liner, don’t forget mascara, gals! Mascara can make such an amazing difference in your overall look. It quickly opens up the eye area and gives the eyes the loveliest lift!
To play up your lashes with mascara, avoiding the “clump factor” is a must! And while you can certainly go for volume, a mascara that defines, lengthens, and separates is most important if you want to stay more natural. Curl your lashes, apply a coat or two of mascara, and you’re good to go!
PRO TIP: If you want an even softer natural look and typically use black mascara, try a brown mascara like this one instead.
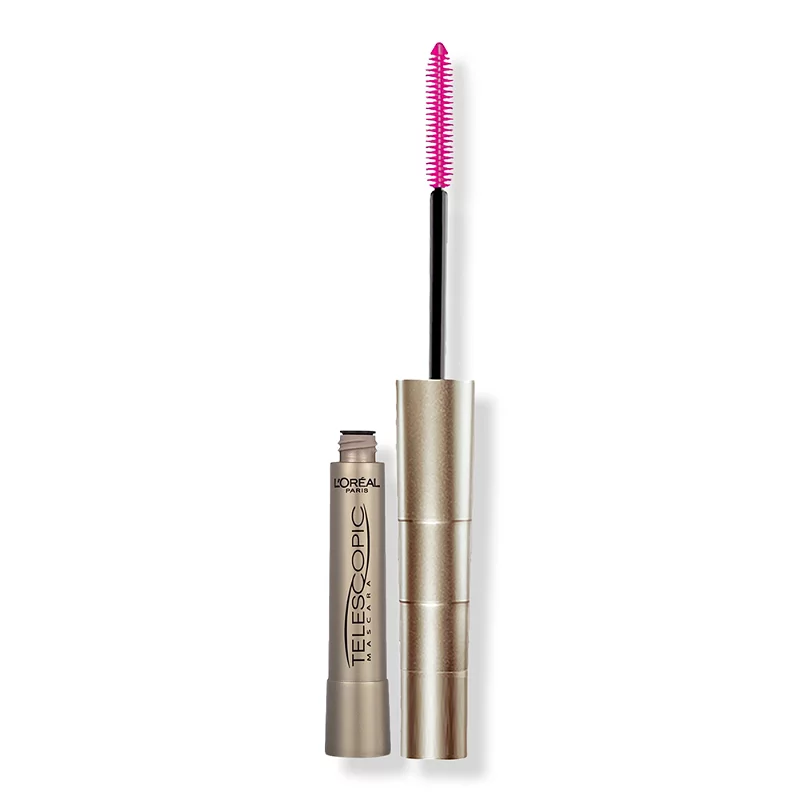
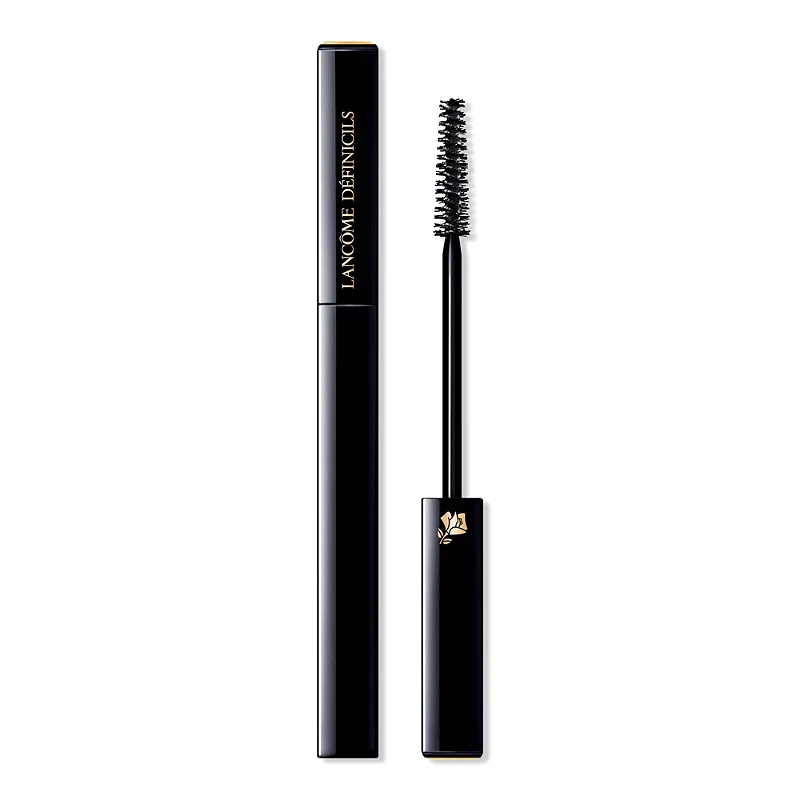
Natural Makeup Mascara Recommendations
For Mascara Options With Volume, check out How To Apply Mascara Properly: 23 Insider Tips & Tricks!! Otherwise, these next picks should give length, definition, & help to separate.


STEP 8: Shape Up Your Brows
If you’ve been blessed with naturally full brows that don’t have any sparse areas, you can just brush through them using a spoolie or brow brush. Then use a clear brow gel to set & keep them in place.
However, if not, then you’ll want to softly define and fill them in with powder or a fine-tipped pencil for this step. For tips on selecting the right brow shades for your natural makeup look, check out these beauty tips for filling in your eyebrows!
Using a spoolie of brow brush, brush through your brows. Then begin filling in your brows, starting with any sparse areas or gaps. A pencil is great for defining the tail of your brows and creating hair-like strokes. But a powder will give you the most natural and softest appearance.
Natural Makeup Brow Product Recommendations
- Fenty MVP Ultra Fine Brow Pencil & Styler
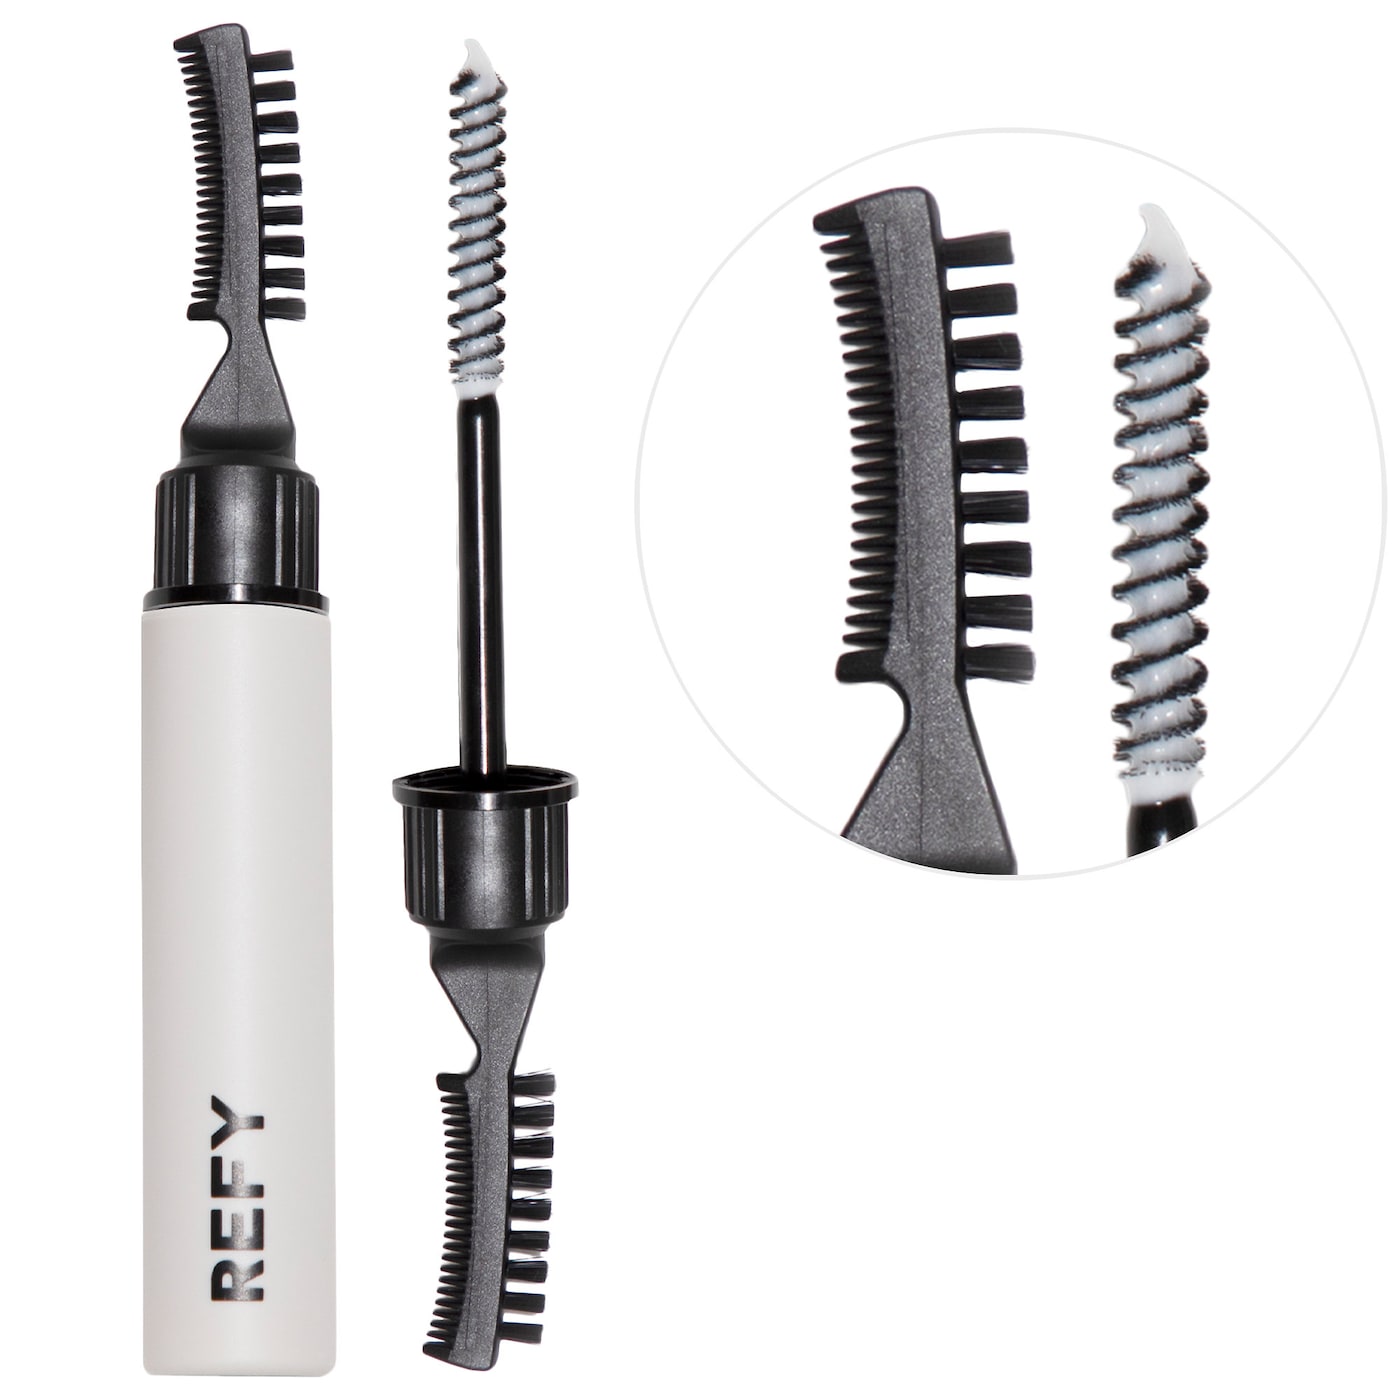
- REFY Brow Sculpt Shape and Hold Gel with Lamination Effect

- Anastasia Beverly Hills Brow Wiz
- Anastasia Beverly Hills Brow Powder Duo
- Anastasia Beverly Hills Clear Brow Gel
STEP 9: Finish Off With Your Lips
Finally, finish off your natural makeup look with a swipe of tinted lip balm, gloss, or nude lipstick. Generally, the most natural-looking colors for lips are nudes, soft pinks, roses, rosy pinks, mauves, and peach, depending on your skin tone. You should aim to go with a shade that’s in the same color family and has the same undertone as your blush.
PRO Tip: If you opt for nude lipstick, start by lining your lips with a liner that’s close to your natural lip color. Then fill in your lips using that same liner. This will help the lipstick last longer. Next, apply your lipstick to your lips with a lip brush or directly from the bullet. You want to start at the center of your lips and work your way outwards.
Natural Makeup Lip Products
Balm Recommendations:
- Dior Addict Lip Glow (12 Shades)
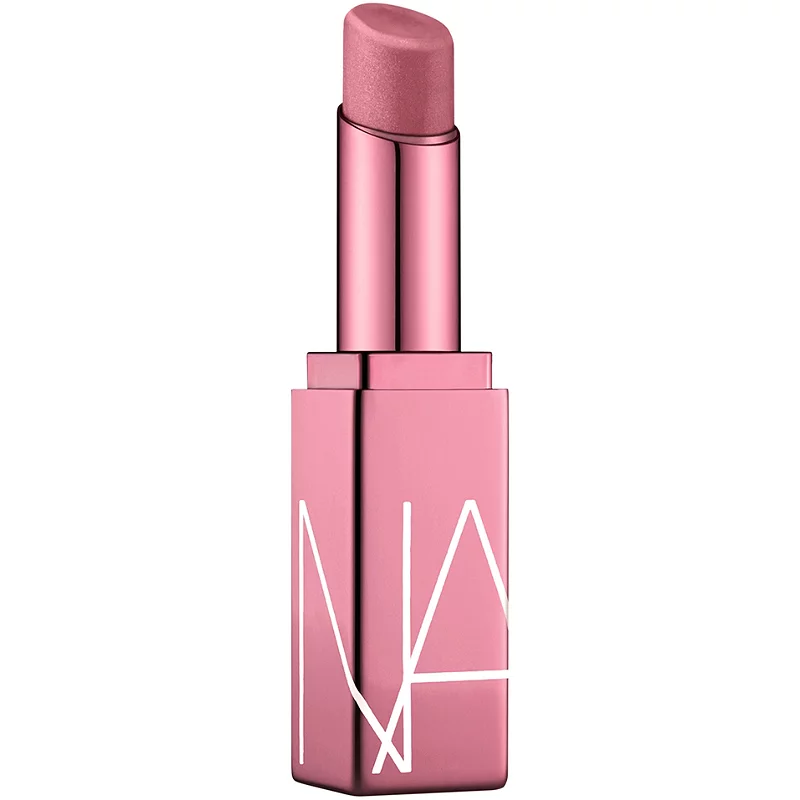
- NARS Afterglow Lip Balm (3 Shades)
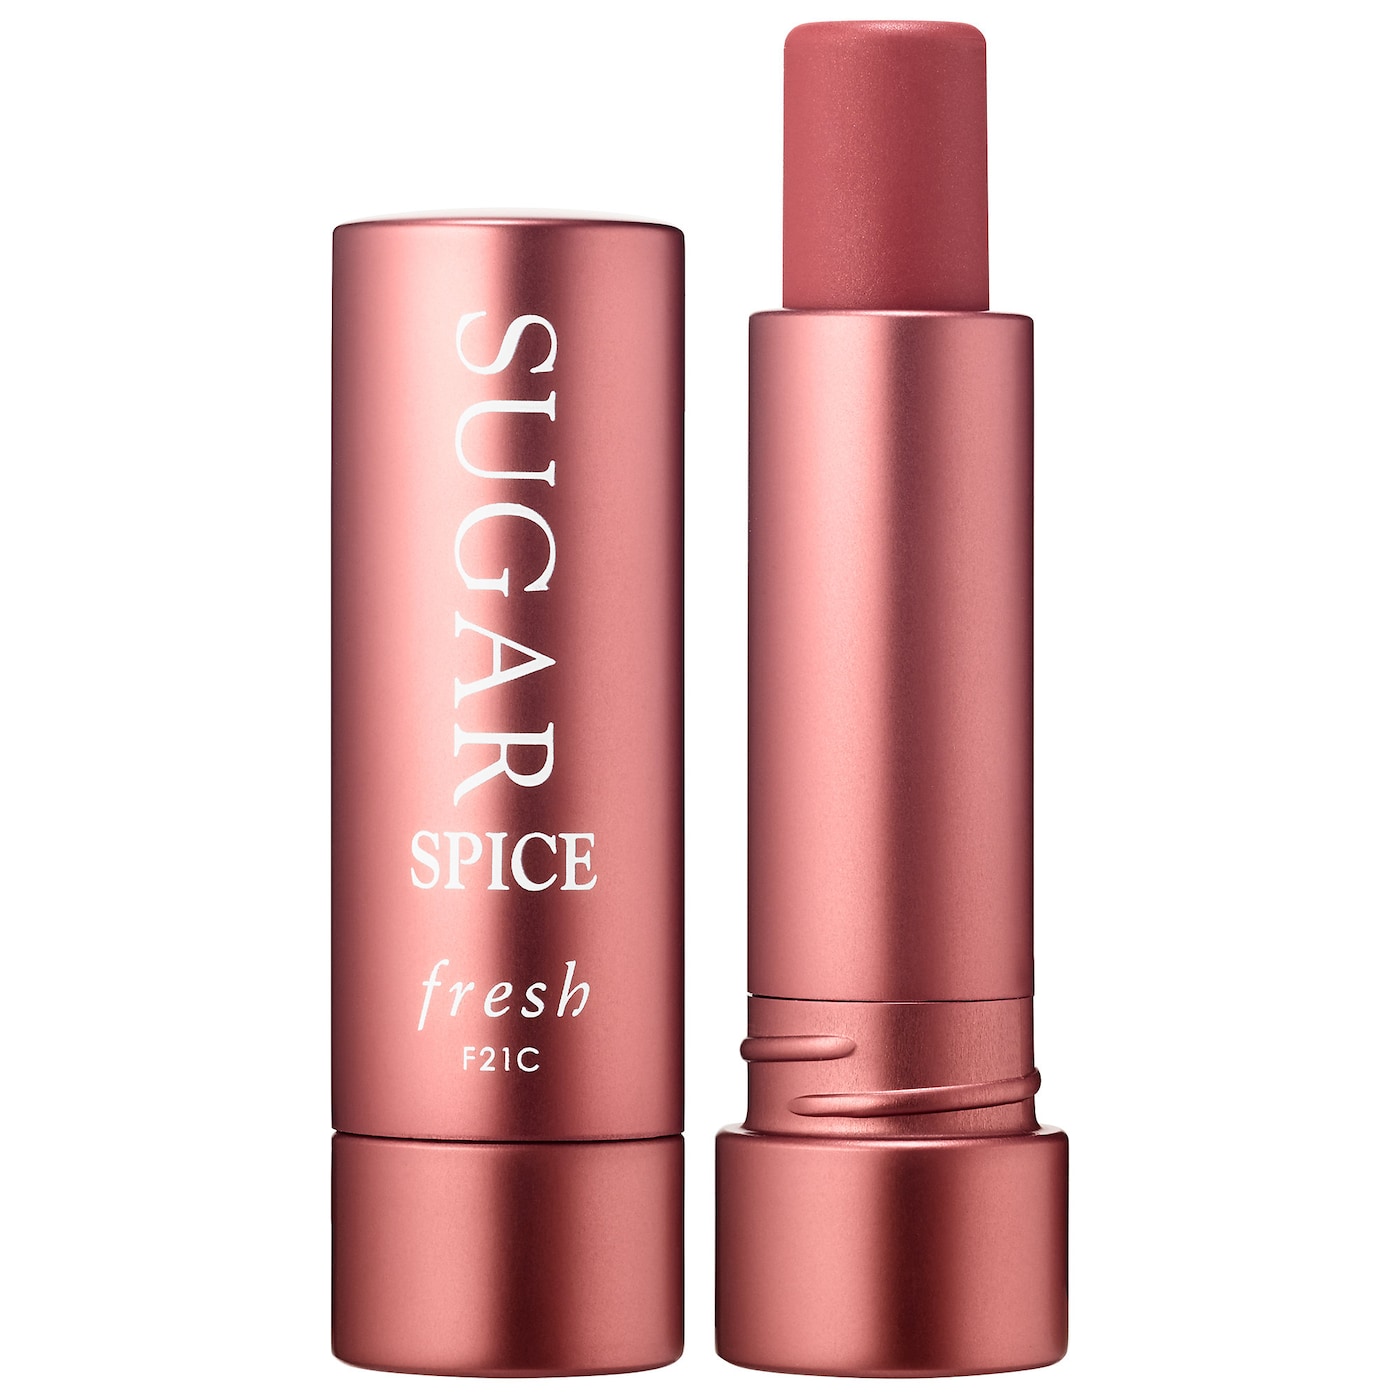
- Fresh Sugar Lip Balm Sunscreen SPF 15

Nude Lipstick Recommendations:
- Fenty Slip Shine Sherer Shiny Lipstick (Pink, Nudes, Peachy-Pink, Rose, Mauve, and Brown-Sheer Shades)
- Fenty Icon The Fill Semi-Matte Lipstick (Beautiful Assortment Of Nudes)
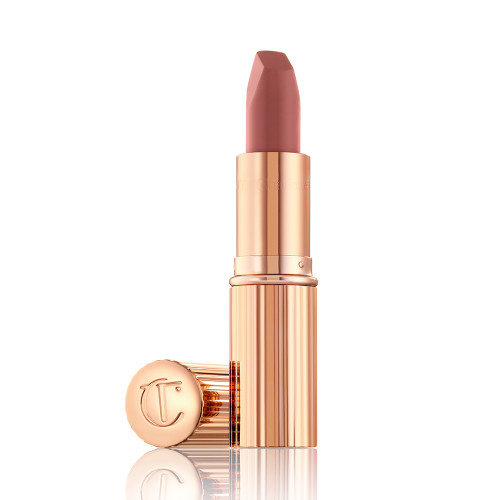
- Charlotte Tilbury Super Nudes Matte Revolution Lipsticks (5 Nude Shades)

Gloss Recommendations:
- NYX PROFESSIONAL MAKEUP Butter Gloss (Assortment Of Shades For All Skin Tones)
- Fenty Gloss Bomb Universal Lip Luminizer (7 Glosses)
For more holy grail makeup products from nude lips to highlighter, bronzers, neutral palettes & more, check out… Best Makeup For Beginners: Must-Haves + Budget-Friendly Picks.
The Correct Order Of Application If You Prefer Creams & Liquids
If you decide to go with creams & liquids for your blush, bronzer, & highlighter…the steps and order in which you apply the products will be different.
- Prep With Skincare & Primer (primer is optional)
- Apply Your Base (foundation, tinted moisturizer, or BB/CC cream)
- Add Concealer (optional, if needed)
- Use Cream Blush (cream blush keeps things natural and glowy) & Cream Bronzer (optional)
- Apply Your Cream Highlighter (optional)
- Set Your Creams & Liquids You’ve Applied With A Light Layer Of Translucent Powder
- Define Your Eyes (eyeshadow & eyeliner are optional, then add your mascara)
- Define Your Brows (pencil or powder) Or Set With Clear Brow Gel
- Use A Tinted Lip Balm, Gloss, Or Nude Lipstick
Top Cream & Liquid Products For A Natural Makeup Look
Cream Blush Recommendations:
- stila Convertible Color Dual Lip & Cheek Cream (Several Shades Workable For A Natural Makeup Look)
- Fenty Cheeks Out Freestyle Cream Blush (Pinks, Mauve, Berry, Corals, Tangerine & Bronzed Nude)
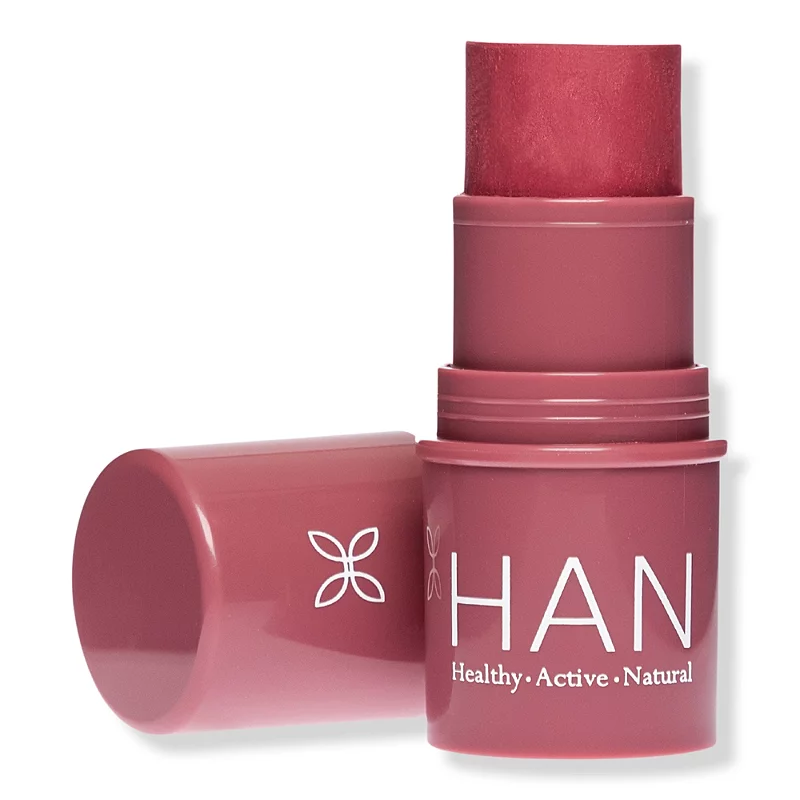
- Hans Cosmetics Multistick(Several Shades Workable For A Natural Makeup Look)

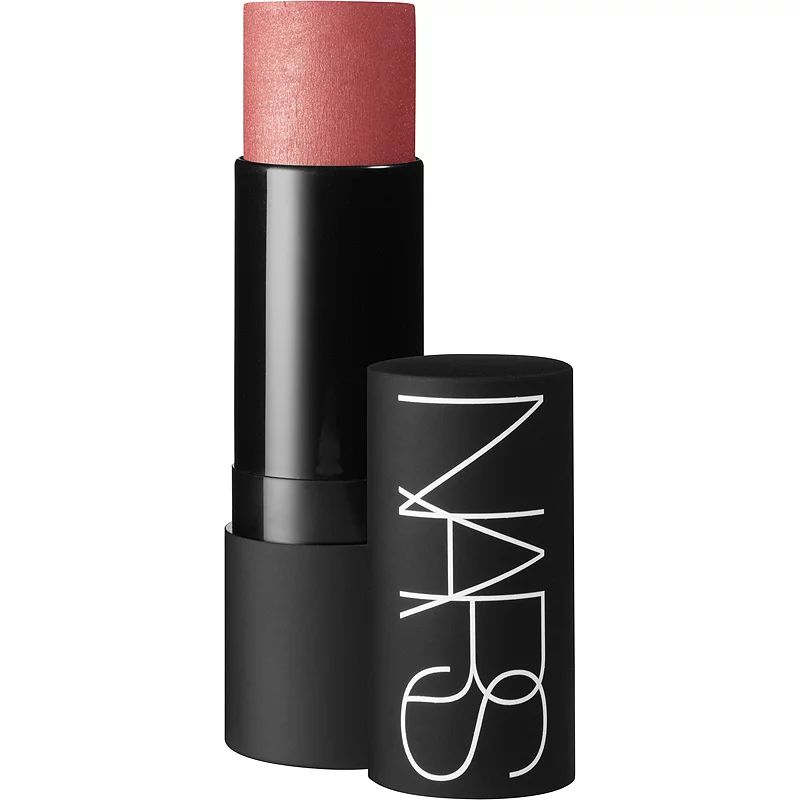
- Nars The Multiple (Maui & Orgasm)
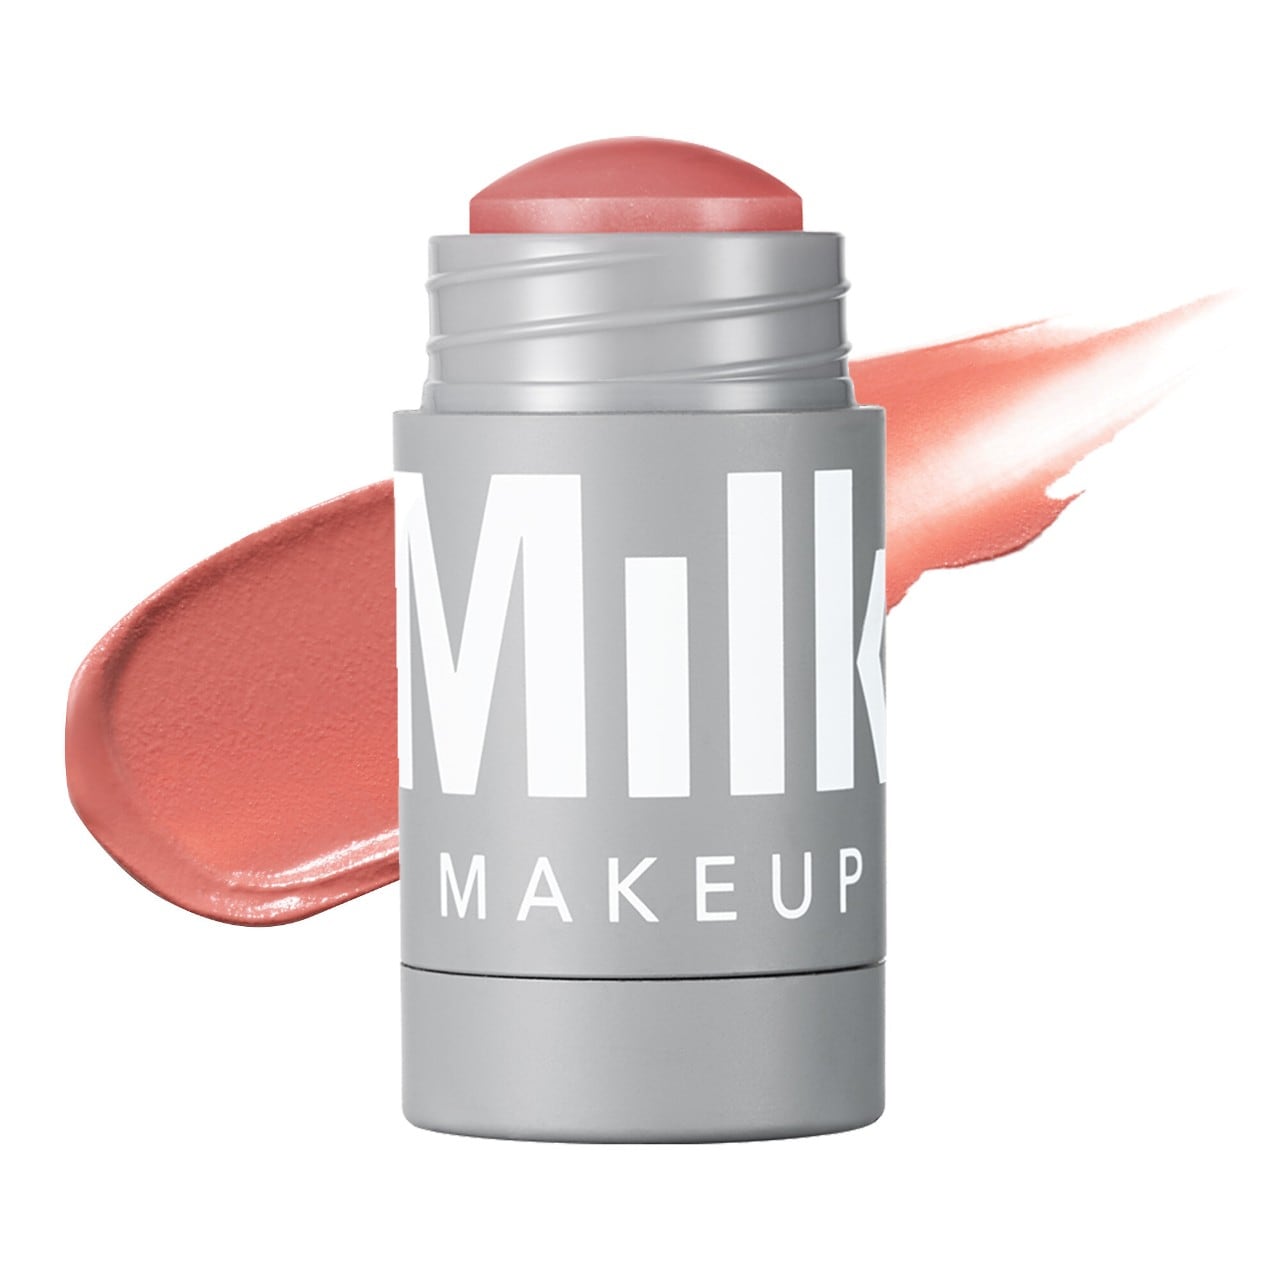
- Milk Makeup Lip + Cheek Cream Blush Stick (Rose, Mauve, Coral, Berry & Pink)
- MAKEUP BY MARIO Soft Pop Blush Stick (Pinks, Rose, Peach & Plum)

Cream Bronzer Recommendations:
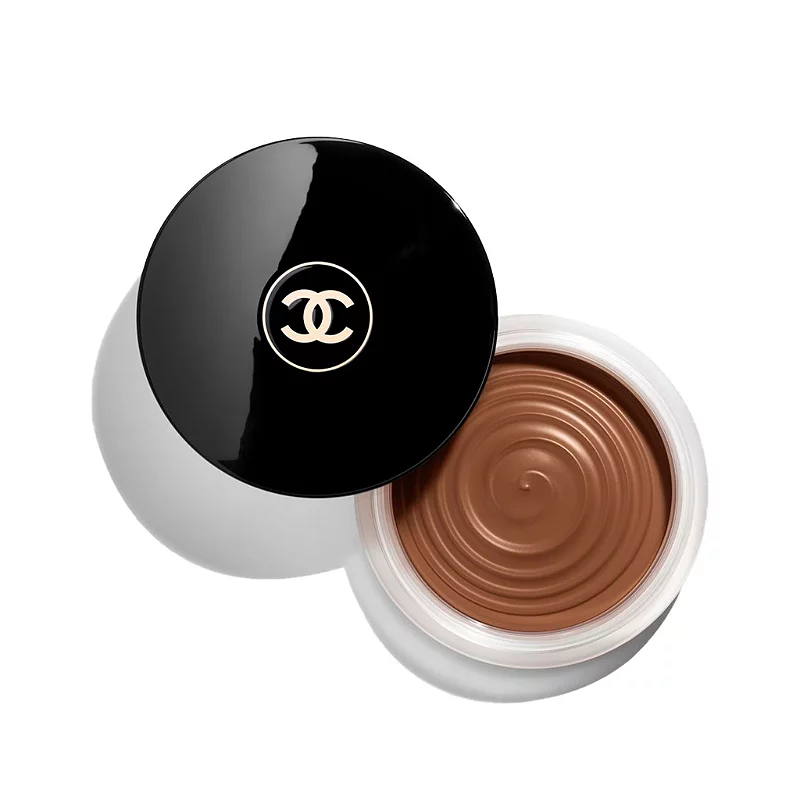
- CHANEL Healthy Glow Bronzing Cream (Fair To Medium Skin Tones Opt For Shade Tan Bronze, Dark & Deeper Skin Tones Opt For Shade Deep Bronze)
- Fenty Cheeks Out Freestyle Cream Bronzer

Cream Highlighter Recommendations:
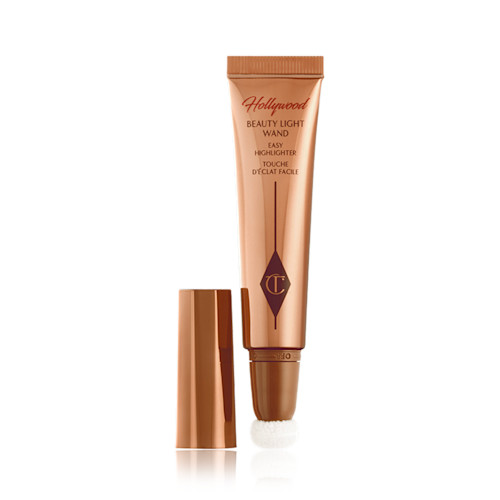
- Charlotte Tilbury Beauty Light Wand (Lovely Options For Several Skin Tones)
- Danessa Myricks Beauty Illuminating Veil Liquid Highlighter (Beautiful Options For Medium Olive, Tan, & Dark Skin Tones)

- Danessa Myricks Dew Wet Hydrating and Highlighting Balm (Several Skin Tones)
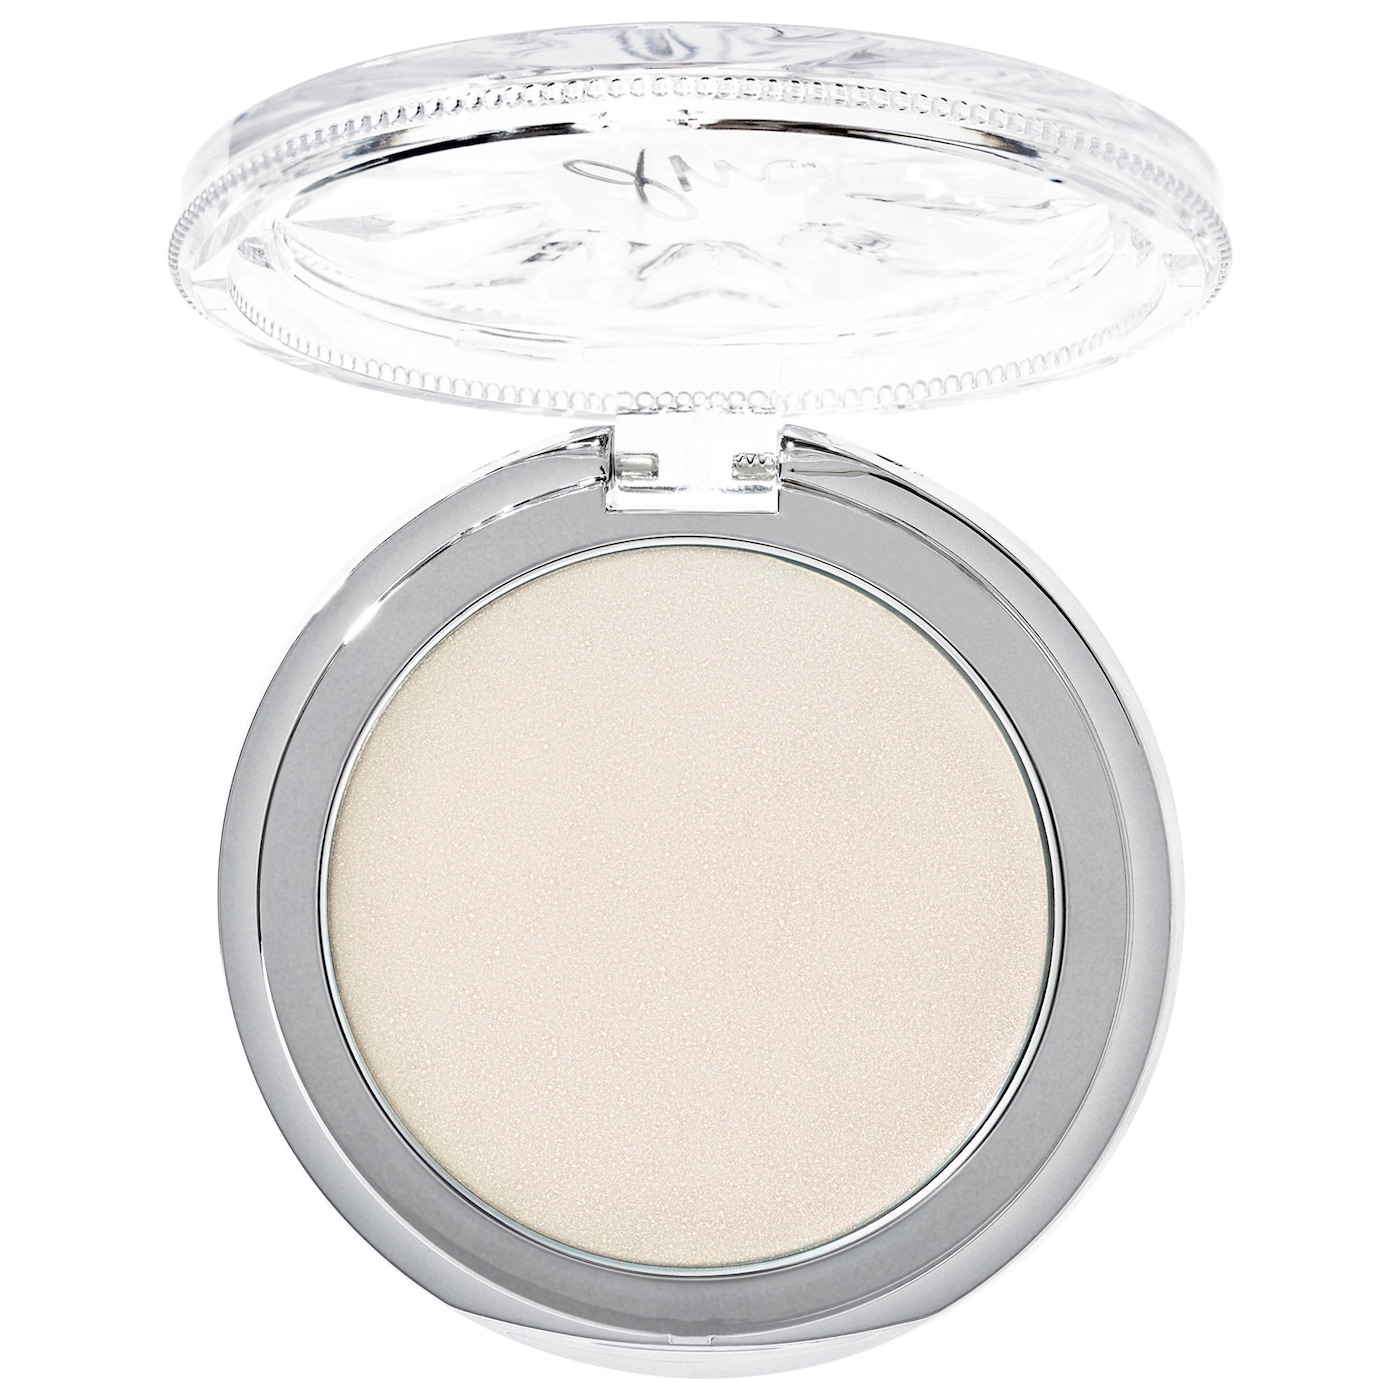
- MILK Makeup Cream Highlighter (Great Options For Fair, Light, Medium & Light Olive Skin Tones)

Want To Step Into The World Of Makeup & Upgrade Your Beauty Skills?
Makeup can be a bit intimidating for many women, whether they’re beginners or used it for years. From picking the right products for your beauty goals, skin needs, and skin type to knowing the difference between ALL those makeup brushes, navigating through the world of makeup can be tricky, to say the least!
But it does not have to be hard; all it takes is the right knowledge! Which is precisely why I created The Ultimate Makeup Guide (For Beginners & Up)…to help with all of these things and more!
If you’re ready to step into the wonderful world of makeup and learn tips & tricks from a professional makeup artist, you can click here to learn all about it!
- Learn all the fundamentals of makeup, including building your own makeup kit and selecting the right tools and products for a simple daily routine.
- Discover which products you need to enhance different features or hide your flaws.
- Get a comprehensive brush guide with PRO application tips for each & every type of makeup brush!
- Step-by-step directions on how to achieve a flawless complexion.
- And so much more!
The Wrap-Up!
Well, Beauties, that’s it! You’re now ready to take on the day with your beautiful natural face! I hope that this tutorial was helpful and that you will give some of these products a try!
Just remember, you can customize your natural makeup routine and look to your liking, needs, and beauty goals. First, figure out whether you want to stick to powders or creams, and then play around with each step to see if you’d rather keep or forgo that product. Of course, if you ever need help, feel free to shoot me an email!
What is your favorite product from our list? Let us know in the comments below!
Related:
- Summer Makeup Looks & Products We’re Totally Obsessed With!
- Fall Makeup Ideas: Best Looks & Products To Easily Amp Up Your Style!
- Beginner Makeup For The Everyday Woman
We are a participant in the Amazon Services LLC Associates Program, an affiliate advertising program designed to provide a means for us to earn fees by linking to Amazon.com and affiliated sites. For more info, see Disclosure Policy.
thanks so much, I loved it 😉
so happy you enjoyed!
Makeup dates back centuries, with its origins tracing to ancient civilizations where it was used for rituals and self-expression. Over time, makeup transformed into an art form, allowing individuals to showcase their creativity on a living canvas.
Makeup has always been an art form that empowers individuals to express themselves creatively while enhancing their natural beauty
thanks for sharing this valuable post. it was awesome. If anyone need come to our site beauty tips
I read your blog and use products.having very usefull information help me a lot .I will read more articles on your blog